amigurumi · stitches · beginner · 7 min read
How to Crochet a Magic Ring (Step by Step)
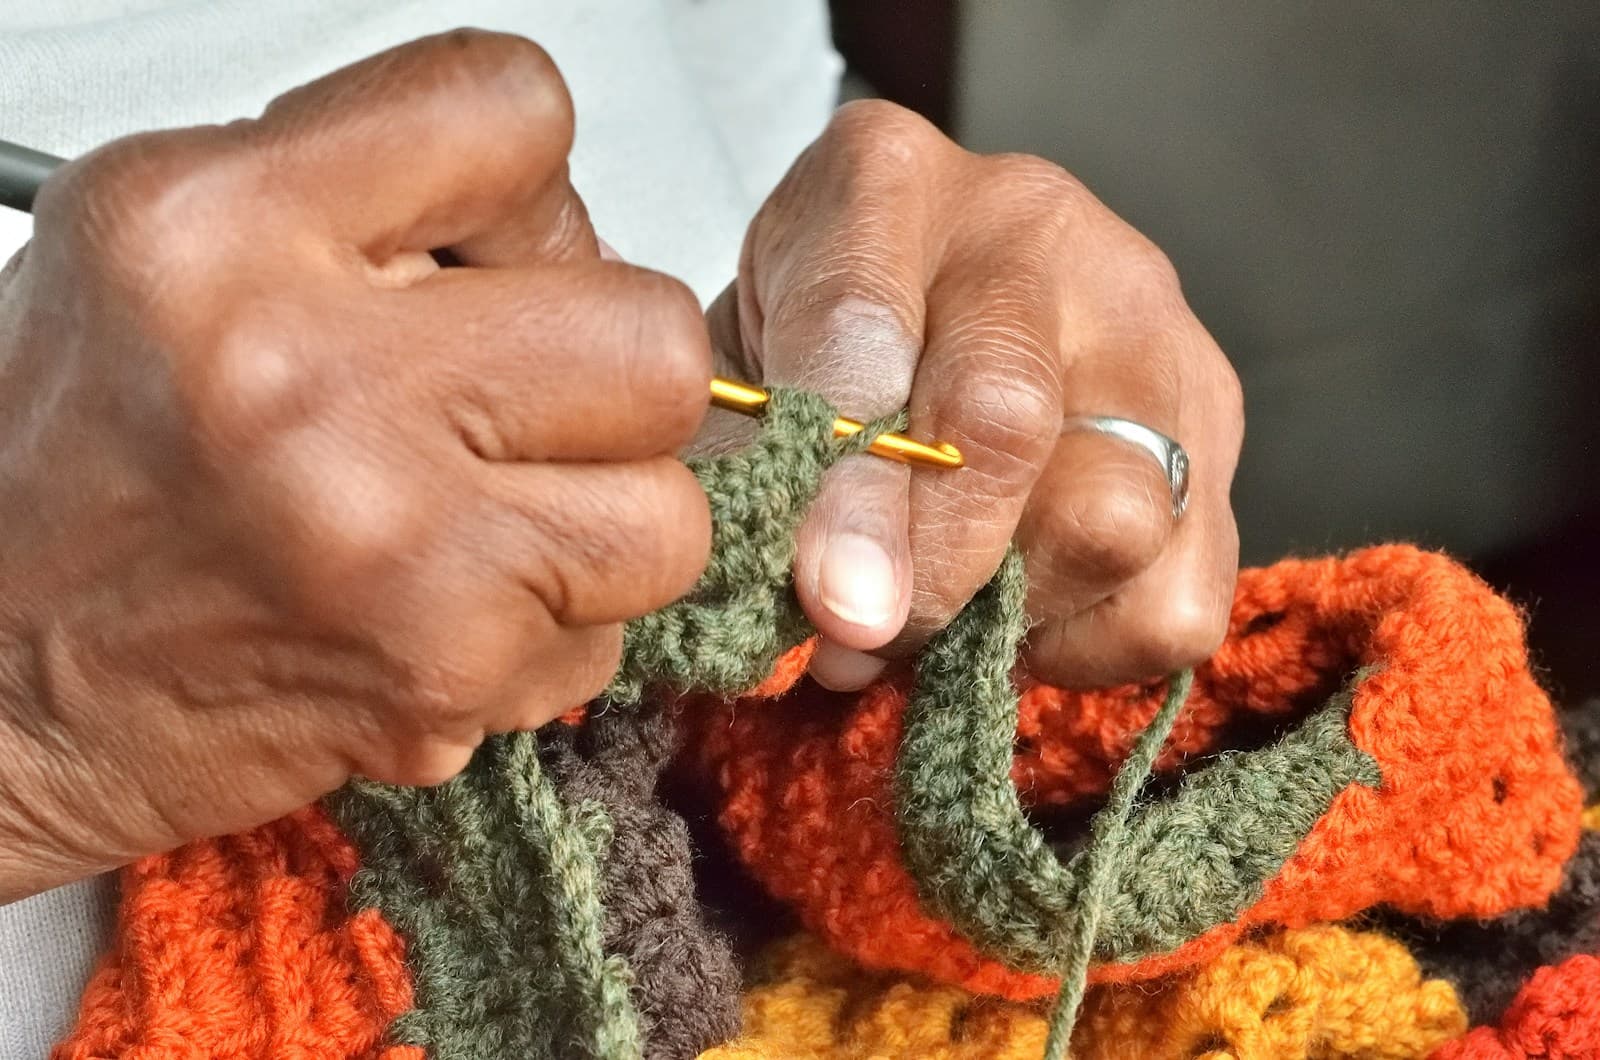
Every crocheter hits the same wall on their first amigurumi project: the pattern says "make a magic ring," and suddenly the pattern might as well be written in code. It's the one start that looks like a sleight of hand — but it's genuinely ten minutes to learn, and it's the difference between a plushie with a mysterious hole in its head and one that closes up perfectly.
Here's the full walkthrough, plus what to do when it goes wrong. If you want a project to try it on immediately afterward, the free amigurumi bunny pattern starts with exactly this.
Why a magic ring at all?
The alternative start — chain 2, then work your first round of stitches into the second chain from the hook — leaves a literal gap at the center: the chain itself is a hard edge that can never fully close. For dishcloths and blankets that's invisible. For amigurumi, where stuffing sits right behind that first round, it's a hole that will show.
A magic ring is a loop of yarn you crochet your first round into, then cinch shut by pulling the tail. The first round of stitches tightens into a closed spiral with no gap at all. That's the whole trick: there is no chain edge, so there is nothing left open.
What you need
- Your usual hook (for amigurumi yarn, one size smaller than the label suggests — see the yarn and hook size guide)
- The same yarn as the rest of your project
- Nothing else. This is a two-handed yarn move, not a new tool.
All stitches in this tutorial are US terms; single crochet (sc) is the workhorse you'll use in the ring.
The magic ring, step by step
I'll describe the standard "two loops" wrap. Right-handed instructions; left-handers, mirror it.
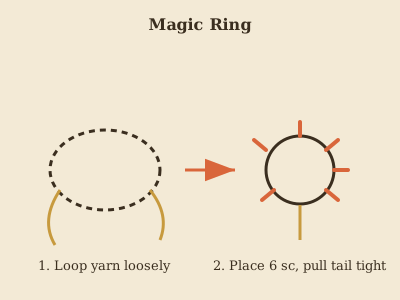
1. Make an open loop. Drape the yarn over two fingers of your non-hook hand, then bring the working end behind and down to form a loose loop lying across your palm. You should be able to pinch the crossing point with your thumb. The tail (short end) hangs down from the back of the loop; the working yarn (connected to the ball) leads up over your fingers to the ball. Take a second here to look at which strand is which; confusing tail for working yarn later is the single most common reason a magic ring falls apart.
2. Insert the hook under both strands. Slide your hook under the loop from front to back, so it passes beneath both strands of yarn crossing at the bottom of the loop. If the hook only catches one strand, the ring will still cinch later but it may cinch unevenly, so double-check you can see two distinct strands resting across the hook's shaft before moving on.
3. Catch the working yarn and pull it through. Yarn over with the working end and pull it back under the loop. You now have one loop on your hook, attached to the ring, with the loop itself still open around your fingers.
4. Chain 1 to lock it. Yarn over and pull through — one chain stitch. This anchors everything and behaves like your first "step up." It doesn't count as a stitch.
5. Work your first round into the ring. Most amigurumi patterns start with "6 sc in ring." Insert the hook into the center of the ring (the big open loop, not through any of the yarn strands themselves), yarn over, pull up a loop, yarn over, pull through both — that's one single crochet, made into the ring itself, not into any chain. Repeat until you have your 6 stitches, inserting the hook into the center of the ring fresh each time. Keep the tension even; the stitches should sit snugly side by side around the loop, with the ring itself still visibly open and floppy underneath them, not yet pulled tight.
6. Cinch the tail. Here's the magic part: hold your six stitches steady with one hand so they don't slide off the loop, then pull the tail end firmly with the other. Watch the open loop, not the stitches, as you pull; you should see it visibly shrink and disappear underneath the six stitches. The loop shrinks to nothing and the six stitches close into a tight circle with no hole in the middle. Pull until it's as closed as you want it — you're literally drawing the opening shut.
7. Join (or spiral on). If your pattern joins rounds, slip stitch into the first sc to close the round. Many amigurumi patterns work in a continuous spiral instead — just start round 2 directly in the first stitch, and put a stitch marker in that first stitch so you don't lose the start of the round.
That's it. The whole skill is steps 1–3; after that, it's an ordinary first round with a drawstring at its center.
Troubleshooting the three classic failures
The ring unravels when I let go. You pulled the working yarn instead of the tail. The tail is the short end, the one not going to the ball. Pinch the crossing point and pull the short end only. Then weave the tail in — a magic ring's security comes from that tail being worked through the center stitches for an inch or so.
There's still a small hole after cinching. Your six stitches were spread out loosely around the loop. Before cinching, push the stitches toward the center so they touch side to side, then pull. If it still gaps, work 8 stitches instead of 6 next time (the ring gets a smaller interior radius relative to the stitches).
The first round is too tight to work into. Classic overcorrection — you cinched before finishing the first round, or you wrapped the loop around your fingers twice (a legitimate technique, but harder to slide the hook into). Keep the ring open and loose until all six stitches are in, and then cinch.
The chain-2 backup
A magic ring isn't the only legal start. Chain 2, work 6 sc into the second chain from the hook, and pull the starting tail tight — with a firmly cinched tail, this is a perfectly serviceable ring for hats and coasters (see how the granny square blanket starts with a simple chain ring). But for anything stuffed, the magic ring wins: it genuinely closes, and it can never come untied at the center the way a chain start sometimes does.
Once it clicks, it takes about fifteen seconds at the start of every project forever. Ten minutes to learn the first time is the best trade in crochet.
Frequently Asked Questions
Can I substitute a chain ring for a magic ring in every pattern? For anything stuffed (amigurumi), no — a chain ring leaves a small permanent gap a magic ring closes completely. For flat, unstuffed pieces like the flower appliqué or flat circles, a chain ring is a perfectly adequate substitute.
Why does my magic ring keep coming apart before I finish the first round? The ring needs to stay loose and open while you work stitches into it — cinching it even slightly before the round is complete makes it harder to fit your hook through the remaining space. Keep it open until every stitch of round 1 is in place, then pull the tail.
Is a magic ring the same thing as an adjustable ring? Yes — "magic ring," "magic loop," and "adjustable ring" all refer to the same technique; the different names come from different designers and regions rather than different methods.
Keep going
- 01Crochet Raccoon Pattern (Amigurumi, 7–8in)A bottom-up body with a built-in cream belly stripe, a striped tail worked in alternating color bands, and oval eye masks made from a foundation chain instead of a magic ring — more construction variety than most first amigurumi projects.amigurumi10 min read
- 02Crochet Panda Pattern (Sitting Amigurumi, 18–20cm)A bigger, more detailed panda than most beginner patterns — a two-tone head with eye patches, a separate nose, and toe-pad paws that make it sit up on its own. Single crochet throughout, worsted weight yarn.amigurumi11 min read
- 03Crochet Penguin Pattern (Beginner Friendly, Chenille Yarn)A soft, plush penguin made in chenille yarn instead of the usual worsted cotton — the head and body work as one continuous piece, so there's no seam down the middle to line up.amigurumi9 min read