blankets · free-pattern · beginner · 7 min read
Classic Granny Square Blanket Pattern (Beginner Friendly)
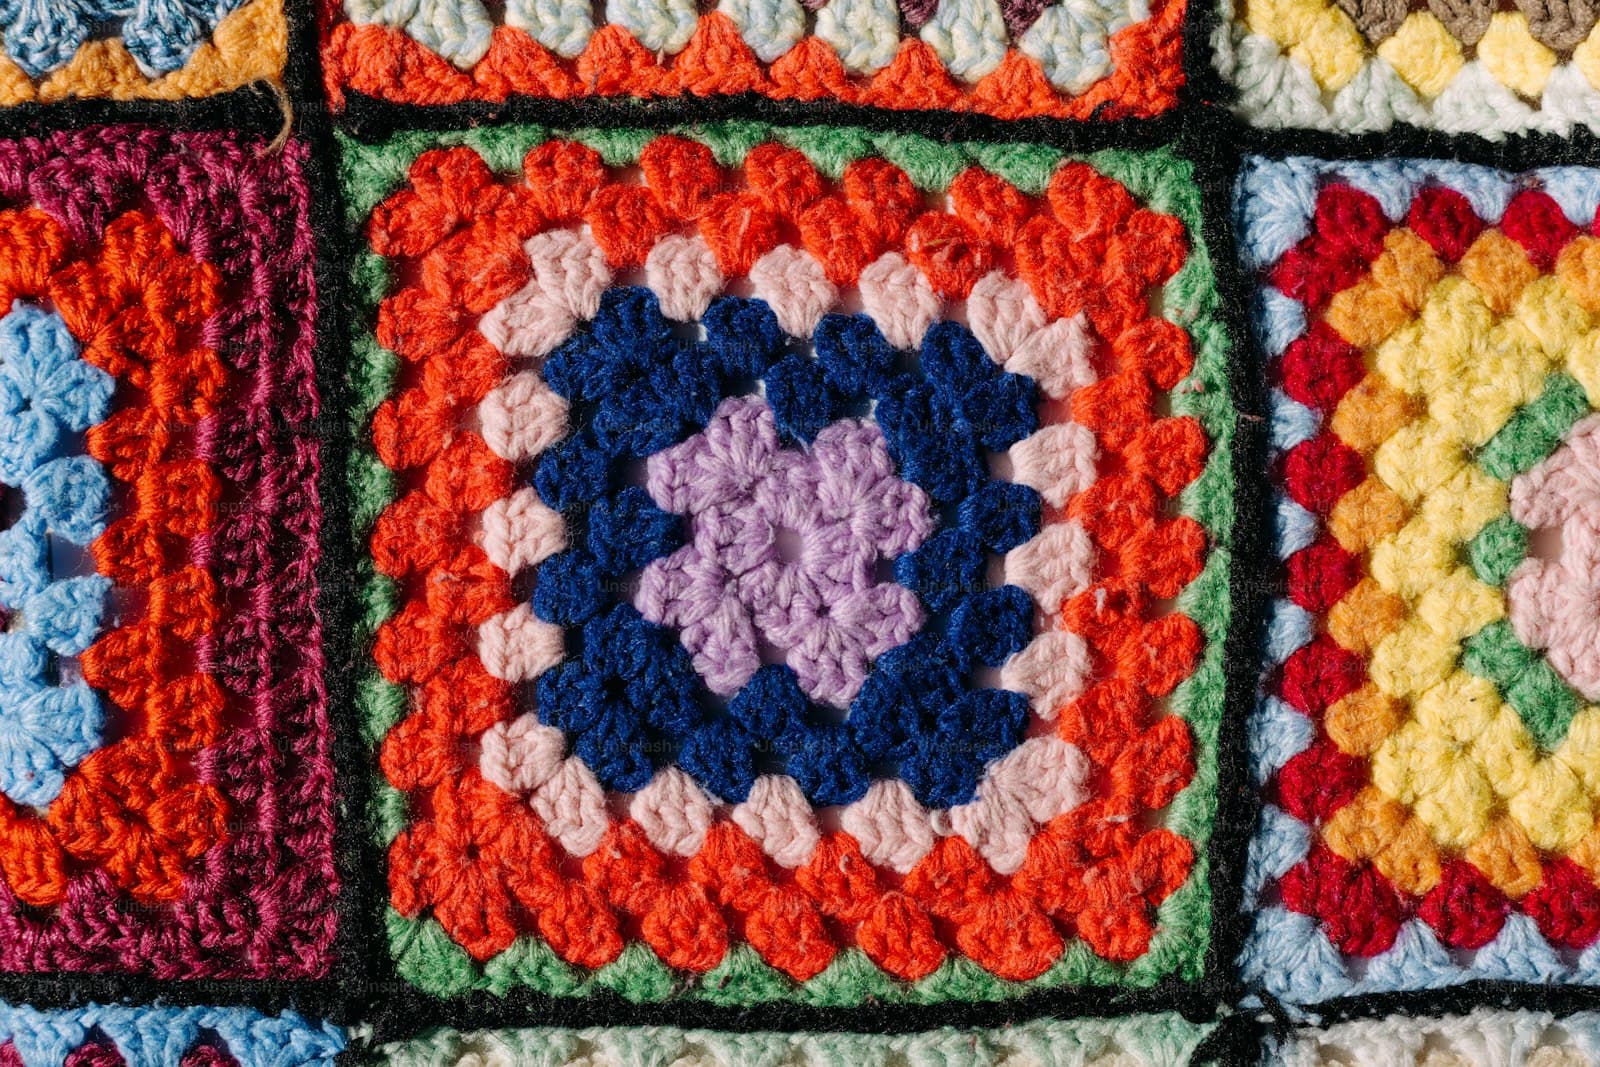
If there's one pattern that every crocheter should make at least once, it's the granny square. It's the blanket your grandmother's grandmother probably made — and there's a reason it never went away: it's pure repetition of one stitch cluster, it grows in satisfying rounds, you can use up every scrap of yarn you own, and the finished thing is genuinely cozy-weather-useful.
This is the classic version, written the way I wish it had been explained to me: what a "granny cluster" actually is, why the corners work the way they do, and how to size it for anything from a cat mat to a queen bed.
The only stitch you need is the double crochet — if you've worked through the five beginner stitches, you already know it.
What you need
- Yarn: worsted weight (category 4) acrylic or acrylic blend. A lap blanket takes roughly 1,200–1,500 yards; a throw, 2,000–2,500. This is the classic leftover-yarn project: each square uses a fraction of a ball, which is why every crocheter's stash exists.
- Hook: 5mm (US H-8) — or see how to match hook size to your yarn.
- Tapestry needle for weaving in ends.
- Scissors, and stitch markers if you like them.
Gauge doesn't need to match anything — this pattern is forgiving because the square is whatever size it comes out, and the blanket is however many squares that is. That said, one square with worsted yarn and a 5mm hook measures about 4.5–5 inches across after four rounds.
All terms are US crochet terms.
The granny cluster (the only "technique")
A granny cluster is simply 3 double crochet into the same space, then you move on. That's it. The whole square is clusters worked into gaps, with chain-1 spaces between clusters along the sides and chain-2 corners.
One convention to settle early: this pattern does not count the turning chain-2 as a stitch. It's just a step up.
Making one square (4 rounds shown, repeat the pattern to grow)
Round 1. With color A, chain 4, then slip stitch into the very first chain you made to close it into a ring. (A chain ring is traditional here — see the magic ring tutorial if you prefer a cinched start; both work.) Chain 2 (this stands in for your first cluster's height, not a stitch itself). Now work a cluster of 3 dc into the center of the ring, chain 2, then work another 3-dc cluster into the same ring center. Repeat that "3 dc, chain 2" sequence two more times, still all into the same ring, until you've placed four clusters total, each separated by a chain-2 space. Finish by slip-stitching into the top of the very first cluster you made, to close the round. Check your work: you should see four distinct 3-dc bumps arranged around the ring, with an open chain-2 gap between each one. Those four gaps are your corners, even though the square is still small enough that they read more as points than corners yet.
Round 2. Slip stitch across to the nearest chain-2 corner space to get positioned there, since every round starts and ends in a corner. Working down each side: in the chain-1 or chain-2 space along a side, work one cluster of 3 dc, then chain 1 to move to the next space. When you reach a corner chain-2 space, work 3 dc, chain 2, 3 dc all into that same space (the chain-2 in the middle is what keeps the corner square instead of pulling it in tight). Continue this side-then-corner rhythm all the way around, and close the round with a slip stitch into the top of your starting cluster. Stop and count: you should now have 2 clusters along each side and a "3 dc, chain 2, 3 dc" pair in each of the 4 corners. If a corner only has a single cluster, you skipped the corner's extra chain-2 repeat on the previous round.
Rounds 3 and 4. Same rhythm, and this is the whole pattern forever: work 3 dc into every side chain-1 space, chain 1 to move along, and work [3 dc, chain 2, 3 dc] into every corner chain-2 space, then close with a slip stitch as before. Each full round adds exactly one new cluster per side while the corners stay at one "3 dc, chain 2, 3 dc" grouping each. After round 4, count clusters along one side: you should have 4. Four rounds gives you the ~5-inch square described above; if your square measures noticeably smaller or larger, that's a gauge difference, not a mistake.
To make one giant single-color square instead of many small ones, keep going: every round is identical. That's the hidden elegance of the granny square — it's a fractal. The blanket is the square.
Joining and finishing
Classic layout: arrange your squares in rows (join-as-you-go or flat-seam, your call), then a simple round of single crochet around the whole blanket edge to frame it, and one round of the crab stitch or just another sc round for a sturdy border.
Weaving in ends is the real final boss of granny square blankets — there's one per color change per square. Do them as you go (one square, one end) and the finishing session stays pleasant.
Sizes, as a rough square count: cat mat 3×3 squares; baby blanket 4×5; lap throw 5×6; full bed blanket 8×10. Because each square is only four rounds, the blanket grows fast in satisfying bursts.
Why beginners should make this exact blanket
- No counting mid-row. Clusters go into gaps, which are visible — you can't lose your place the way you can in a row of 200 double crochets.
- Every mistake stays in one square. A wrong stitch never cascades. If a square comes out odd, it becomes a coaster and you make another.
- It finishes. Motif blankets are the perfect anti-WIP-trap: you can finish squares in one sitting each, and the pile of finished squares is visible progress you can feel.
If you want a smaller, faster confidence-builder first, the easy cotton dishcloth uses the same cluster-in-a-gap logic in miniature — or take the square route straight into a simple ribbed beanie for a change of shape. Ready for a bigger, softer version of the same motif-square logic? The baby blanket pattern uses a different stitch but the same one-repeat-at-a-time approach.
Frequently Asked Questions
How many squares do I need for a specific blanket size? A lap blanket typically needs 30–48 squares depending on your chosen square size, a twin-bed blanket 80–100, and a queen-size blanket 120 or more — lay out a few finished squares against your intended blanket size to get an accurate count for your specific gauge before committing to a full project's worth of yarn.
What's the best way to join squares — sewing or crocheting them together? A single crochet or slip-stitch join worked through both squares' edges is faster and gives a slightly more flexible seam than sewing; sewing (mattress stitch) gives an almost invisible join but takes noticeably longer across dozens of squares.
Can I mix different stitch patterns within one granny-square blanket? Yes, as long as each square finishes at the same size — this is exactly how "sampler" granny blankets are built, using a different stitch motif per square while keeping every square the same final dimension so they join cleanly.
Keep going
- 01Crochet Baby Blanket Pattern (Pram Size in a Weekend)A soft ripple blanket built from double crochet and one repeated 4-row stripe, sized for a stroller, a crib, or a baby shower gift with time to spare.blankets5 min read
- 02Crochet Raccoon Pattern (Amigurumi, 7–8in)A bottom-up body with a built-in cream belly stripe, a striped tail worked in alternating color bands, and oval eye masks made from a foundation chain instead of a magic ring — more construction variety than most first amigurumi projects.amigurumi10 min read
- 03Crochet Panda Pattern (Sitting Amigurumi, 18–20cm)A bigger, more detailed panda than most beginner patterns — a two-tone head with eye patches, a separate nose, and toe-pad paws that make it sit up on its own. Single crochet throughout, worsted weight yarn.amigurumi11 min read