wearables · free-pattern · 7 min read
Simple Crochet Beanie with a Ribbed Brim
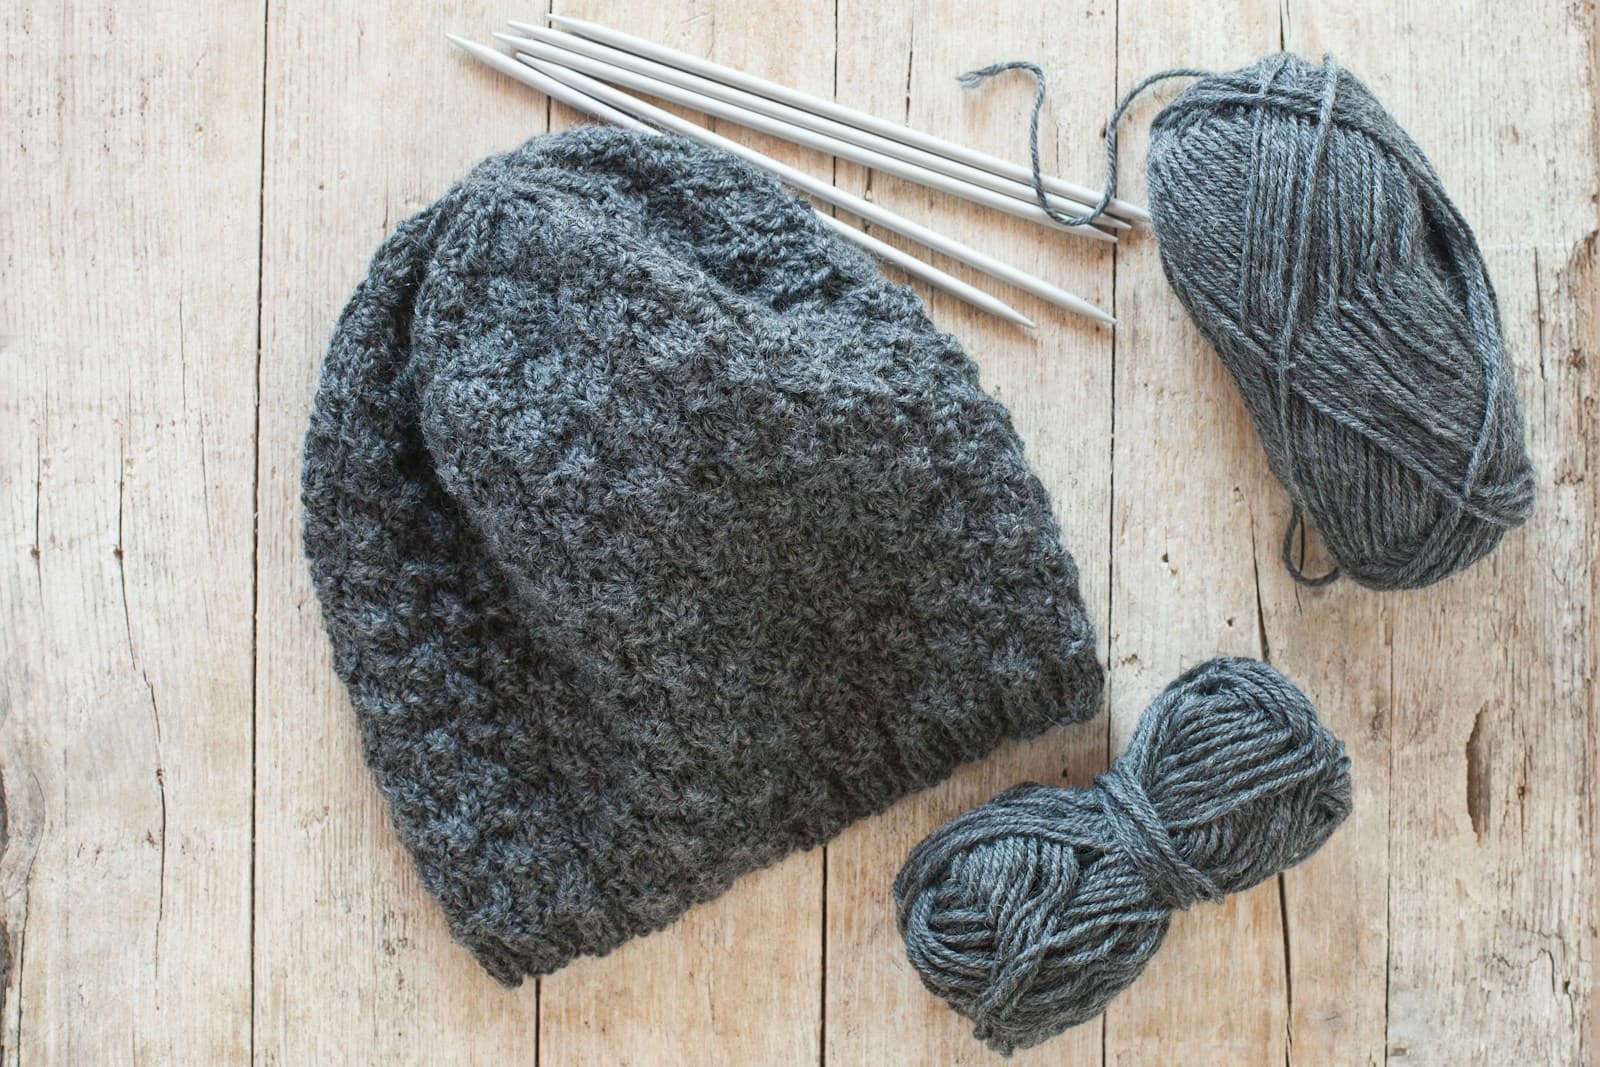
A beanie is the first wearable most crocheters make, and for good reason: it's one ball of yarn, it's worked in the round with no seams, and — this is the part nobody believes until they finish one — hats are forgiving. Unlike a sweater, a beanie fits if it's within about two inches of correct. It's the most confidence per stitch in crochet.
This version is worked top-down: you start at the crown with a magic ring and increase outward until the crown is the width of the wearer's head, then work straight down for the depth, then add a ribbed brim. One ball of worsted, an evening, done. It uses half double crochet throughout — if you're solid on the basics from the five beginner stitches, you're ready.
What you need
- Yarn: one ball (100g / ~220 yards) of worsted weight (category 4) acrylic or wool blend. Anything smooth works; avoid anything slippery or splitty for your first hat.
- Hooks: 5mm (US H-8) for the body, and a 4.5mm for the brim. The smaller brim hook tightens the ribbing so it actually grips the head. See the yarn and hook size guide for the logic.
- Stitch marker — genuinely needed here: you're working in the round and you need to find round-start again.
- Tapestry needle for the crown tail.
Sizes: Baby (Adult S, Adult M, Adult L). Adult M fits a typical 56–58cm head with slight negative ease.
All terms are US crochet terms. The hat is worked in a spiral (no joining rounds) — which is why the stitch marker matters.
Crown: the increase rounds
The whole fit of the hat is decided here. The crown grows by evenly spaced increases (2 hdc in one stitch) each round. Start with the magic ring — a cinched start matters for hats, since the crown is the most visible center of any hat.
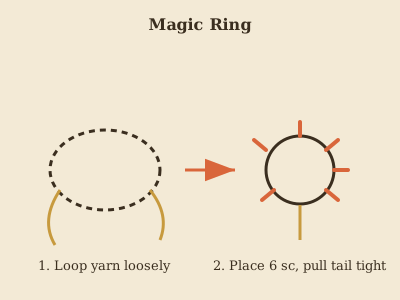
- Round 1: Work 10 hdc into the magic ring, then pull the tail just enough to close the center hole before continuing. (10 sts)
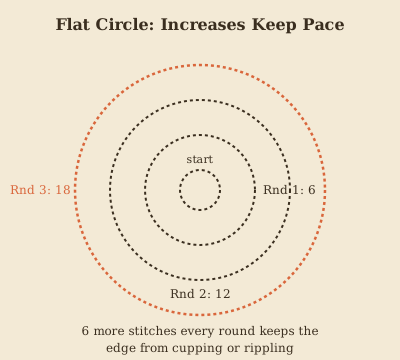
- Round 2: Work 2 hdc into each stitch around, doubling the count from round 1. Every stitch gets an increase this round, so the disc should visibly widen and start lying flat rather than cupping. (20)
- Round 3: Work the repeat [1 hdc, 2 hdc in next st] around the whole round: one plain hdc, then an increase (2 hdc in the same stitch), over and over. The increases are now spaced one stitch apart instead of happening in every stitch. (30)
- Round 4: Work the repeat [2 hdc, 2 hdc in next st] around: two plain hdc, then an increase, repeating. The gap between increases keeps growing, which is what turns a tight spiral into a flatter, wider disc. (40) ← Adult M crown
- (Adult L only) Round 5: Work the repeat [3 hdc, 2 hdc in next st] around: three plain hdc, then an increase, repeating. (50)
- (Adult S / Baby) stop after Round 3 (30 sts total) / work only Rounds 1–2 and stop there (20 sts total)
How to know when to stop increasing: the flat disc should just cover the crown of the head with the edges curling down slightly when you hold it against a head. Slightly-under is better than slightly-over — the brim's ribbing will snug it up.
Body: straight rounds until it's hat-deep
From your final increase round, work 1 hdc in every stitch around with no increases at all, keeping the same stitch count every single round from here on. Each round should stack directly on top of the last, forming a straight-sided tube rather than a widening cone. Continue until the piece, laid flat, measures:
- Baby: ~5.5 in / 14cm
- Adult S: ~7 in / 18cm
- Adult M: ~7.5 in / 19cm
- Adult L: ~8 in / 20.5cm
Measure from the crown's center down the side. If you're between sizes, err short: ribbing adds depth, and a hat stretches more than it shrinks.
Brim: the back-loop rib
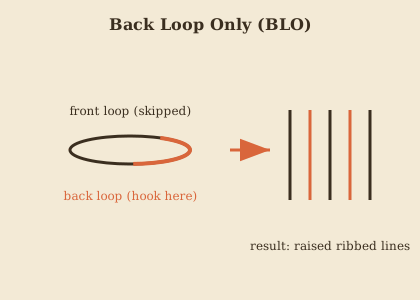
The rib is the easiest real rib in crochet: you simply work single crochet stitches into the back loop only — the back strand of each stitch's top "V" — which lets the front loops stand out as raised ribs.
Switch to the 4.5mm hook, then:
- Brim Round 1: Work 1 sc into every stitch around, but insert your hook only under the back loop of each stitch (the strand of the "V" farthest from you), leaving the front loop untouched. The stitch count stays the same as the last body round; what changes is the texture, since the untouched front loops will stand up as ribs once you're a round or two in.
- Brim Round 2: Repeat the same back-loop-only sc all the way around. The ribbed lines should now be visible and a little stretchy when you tug the brim widthwise, which is what lets it grip the head.
Fasten off, pull the tail through the last stitch to secure it, then go back and cinch the crown's magic ring closed if it isn't already fully closed, working the tail through the center a couple of times so it holds. Weave in ends. Done — the whole thing is one evening of couch time.
Fitting notes (the part patterns usually skip)
- Between sizes: add one even round to the body and, for width, one extra increase round is not the answer — go down a hook size instead. Hat width is mostly yarn-and-hook, not round count.
- Slouchier? Add 2–3 body rounds and stop the brim one round earlier. The brim does the gripping either way.
- Too loose? Wash it. Acrylic softens and shrinks slightly; wool felts (aggressively). If it's still loose after washing, work one more brim round on a 4mm hook — invisible fix, ten minutes.
Wear it, then make it yours
Change the body to double crochet for a faster, drapier beanie (subtract one body inch — dc is taller), or stripe the crown with two scrap balls — the crown's short rounds are the perfect place for leftovers, the same logic that makes the granny square blanket the classic stash-buster.
If your first hat comes out slightly lopsided or the rib looks wavy: that's every first beanie ever made, and it's exactly the kind of thing the mistake-fixing guide covers. Hats get dramatically better on the second one — and the second one takes half the time.
Frequently Asked Questions
How do I know if my beanie will fit before finishing it? Try the crown section on your head (or a similarly-sized head) once you've worked past the increase rounds but before the ribbed brim — the body of the hat should reach a bit past the widest point of your head at that stage, since the ribbing pulls in slightly once added.
Why does my beanie look pointy at the top instead of rounded? Not enough increase rounds relative to the hat's finished height is the usual cause — a rounder crown needs its increases spread over more rounds rather than front-loaded into just the first few.
Can I add a pom-pom without changing the pattern? Yes — a pom-pom is purely an add-on sewn to the crown's center point after finishing, with no effect on the pattern's stitch counts or shaping.
Keep going
- 01Crochet Bucket Hat Pattern (Adult Sizes, One Skein)The rounded crown, straight sides, and flared brim that make a bucket hat instantly recognizable — worked flat-to-flare in single crochet, with the stitch counts spelled out so it actually turns out symmetrical.wearables6 min read
- 02Crochet Wrist Warmers Pattern (Ribbed, One Skein, Both Sizes)A stretchy ribbed rectangle, seamed into a tube with a gap left for the thumb — the layering piece that's trending everywhere this year, worked flat so there's no in-the-round thumb gusset math to fight with.wearables5 min read
- 03Easy Crochet Slippers Pattern (Adult Sizes)No shaping, no sizing charts — just two rectangles folded and seamed into a slipper, sized against your own foot instead of a generic chart that never quite fits.wearables5 min read