free-pattern · beginner · 5 min read
Crochet Scrunchie Pattern (Scrap Yarn, 10 Minutes)
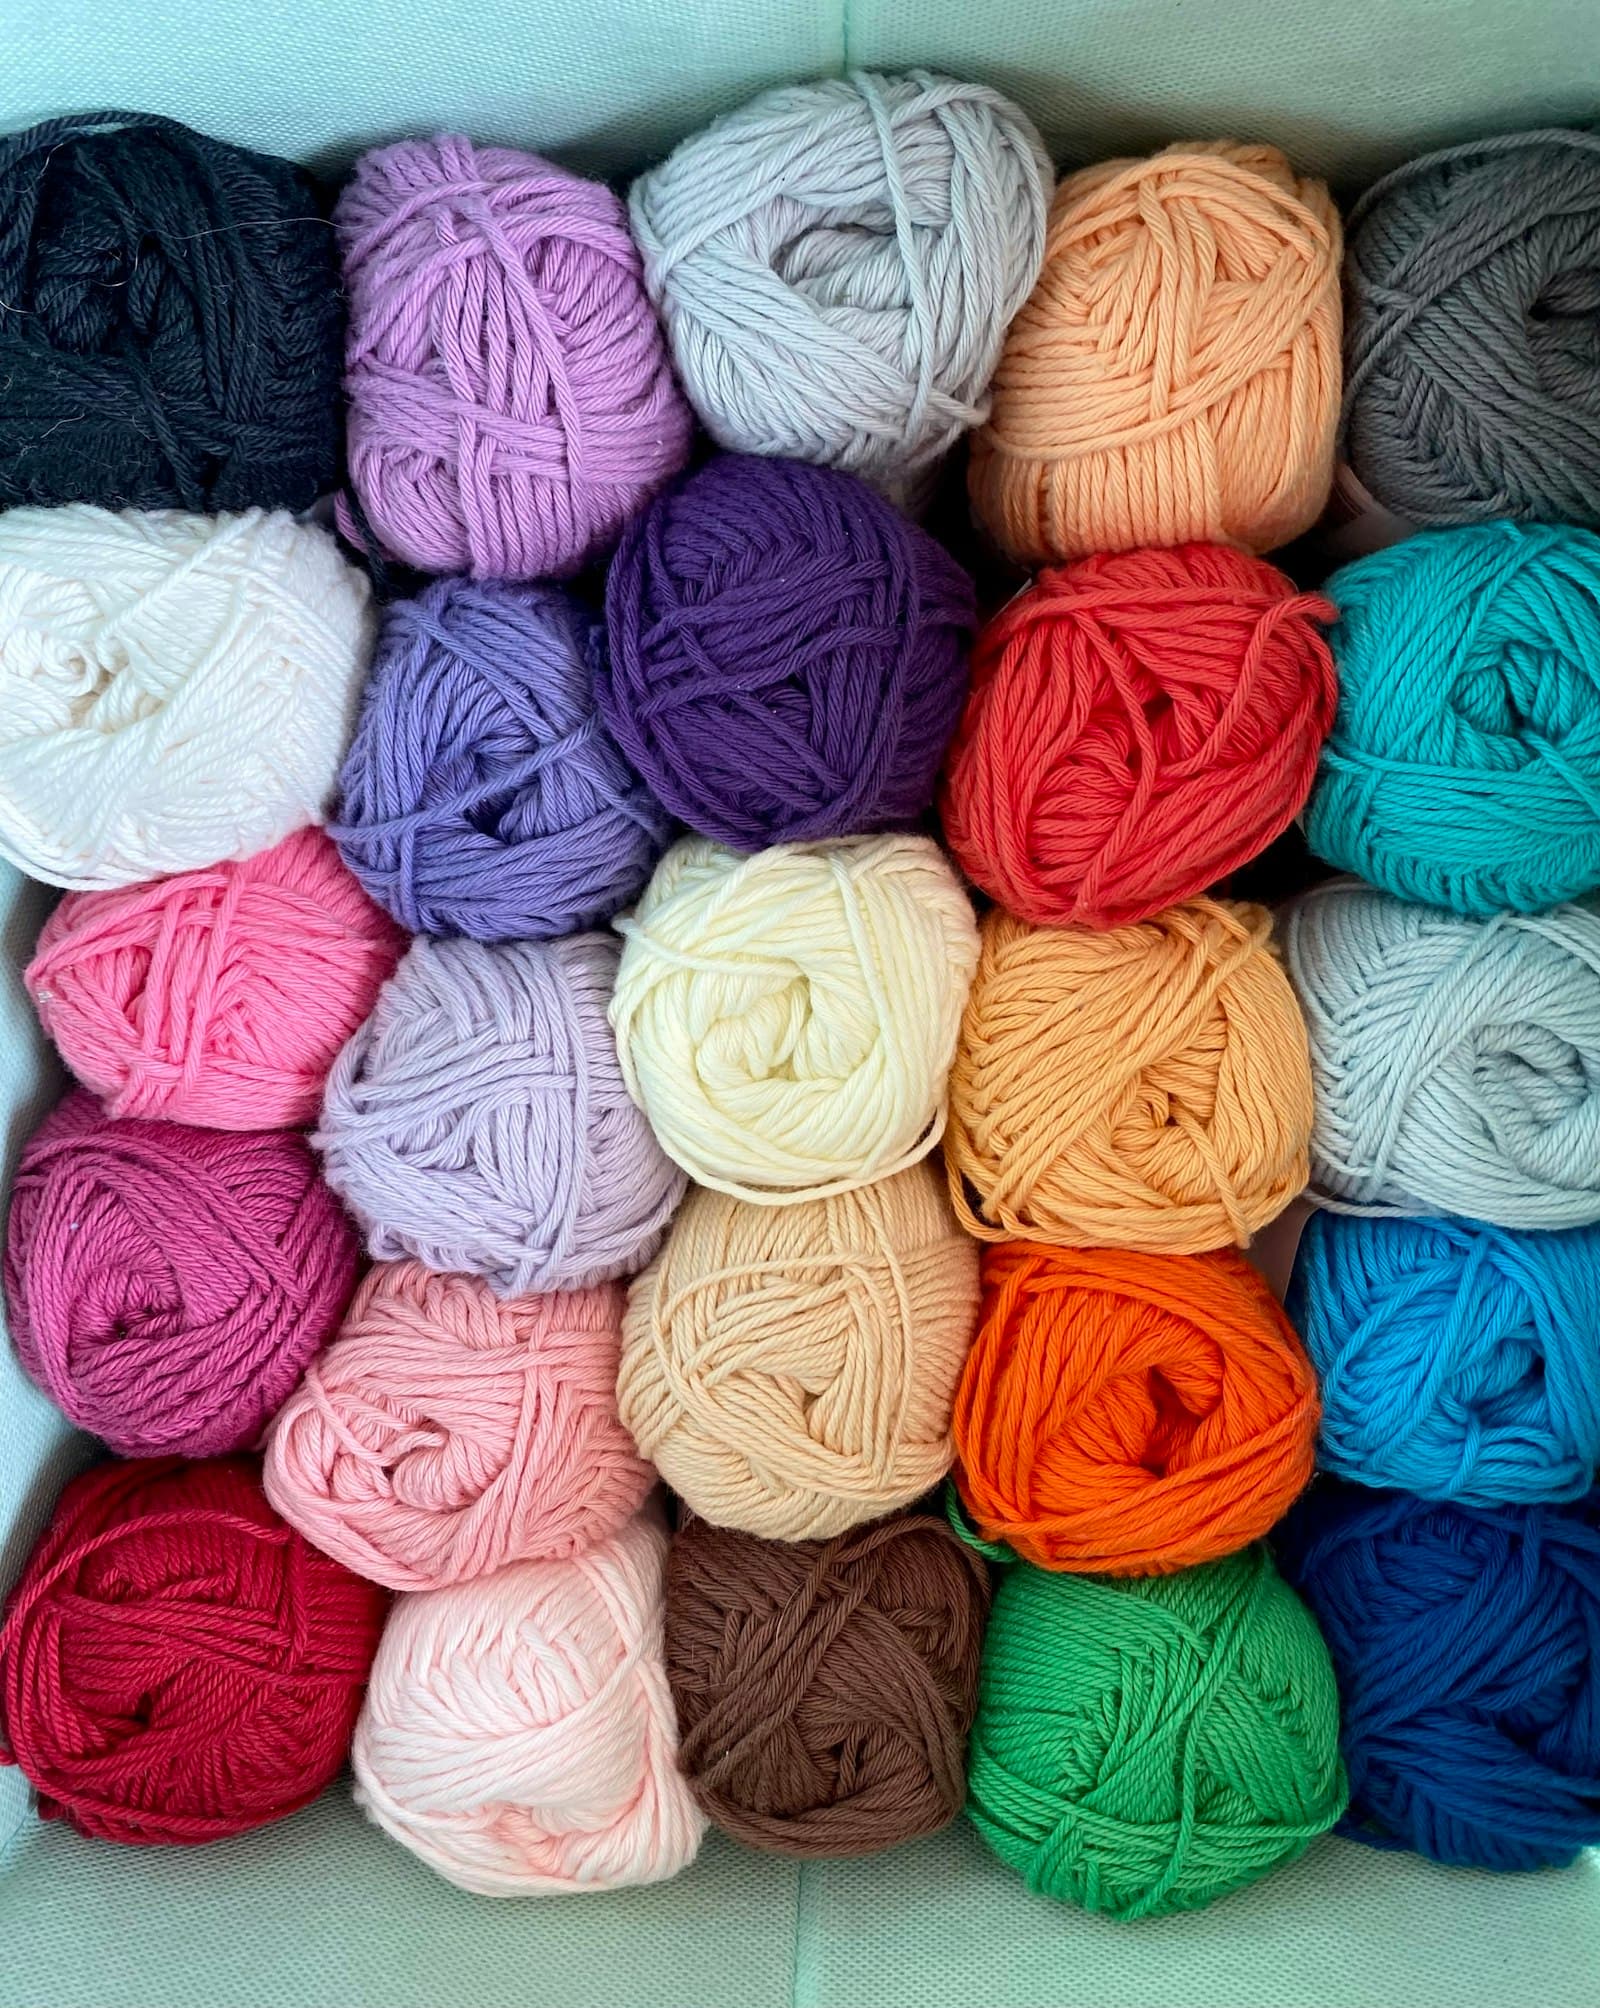
A scrunchie is the crochet equivalent of the keychain: small enough to finish in one sitting, forgiving enough that gauge barely matters, and a genuinely good use for the handful of yards left over after a bigger project. The whole thing is single crochet worked directly over a plain hair elastic — no shaping, no pattern repeat to keep track of, just cover the elastic and go back for a second pass if you want it fuller.
Materials
- About 15–20 yards of worsted weight (US #4) yarn — this really is a scrap-bin project
- A plain elastic hair tie, the thin kind without any decoration
- 5.0mm (US H-8) crochet hook
- Yarn needle
Abbreviations
- ch — chain
- sc — single crochet
- st(s) — stitch(es)
The scrunchie, start to finish
Step 1 — anchor onto the elastic. Make a slip knot and place it on your hook. Insert the hook through the elastic loop, yarn over, and pull the slip knot's loop through the elastic — this locks your working yarn onto the elastic without a separate starting chain.
Step 2 — first pass of single crochet. Work sc stitches directly over the elastic. For each stitch, insert your hook through the elastic loop itself, not into a previous stitch — every single stitch of this first pass wraps around the bare elastic. Pack the stitches closely together as you go, checking every few stitches that no elastic is visible in the gaps between them. Keep working around the loop until you're back at your starting point — typically 40–50 sc for a standard-size hair elastic, though the real measure is coverage, not a stitch count. Stop only once the elastic has disappeared completely under yarn.
Step 3 — close the round. Slip stitch into your very first single crochet to join the round and close the loop.
Step 4 — optional second pass, for fullness. For a fuller, poofier scrunchie (the look most people picture), don't fasten off yet — instead, work a second full pass of single crochet directly on top of the first pass, going through the tops of your Step 2 stitches this time rather than around the bare elastic again. This doubles the yarn coverage without doubling the elastic's stretch, giving the finished piece real volume.
Step 5 — finish. Slip stitch to join, fasten off leaving a 6-inch tail, and weave the tail through the stitches at the join to hide it completely — there's no seam to sew, just a tail to bury.
Getting it to look store-bought rather than homemade-lumpy
The difference between a scrunchie that looks intentional and one that looks like a first attempt almost always comes down to stitch density in Step 2: too few stitches and the elastic peeks through in stretched-out gaps; too many and the fabric bunches oddly instead of sitting smooth. Aim for stitches snug enough to touch their neighbors with no gap, but not so packed that the ring stops stretching easily — test the stretch every 10 stitches or so rather than only at the end.
Variations
- Chunkier texture: work Step 2 in half double crochet instead of single crochet for a looser, more textured cover — this uses more yarn per elastic but is a good option if your scrap yarn is a heavier weight than worsted.
- Two-tone scrunchie: work Step 2 in one color, then switch colors before Step 4's second pass using an invisible color join — the two passes read as two distinct bands rather than blending.
- Bow accent: leave a longer tail at the join (12 inches instead of 6), and tie it into a small bow against the scrunchie's seam instead of weaving it in completely.
Frequently Asked Questions
How much yarn does one scrunchie actually use? Less than most people expect — about 15–20 yards for a single pass, or 30–40 yards if you're doing the fuller two-pass version in Step 4. A single leftover ball-end from almost any other project on this site is more than enough for two or three scrunchies.
Can I use a thick "scrunchie-specific" elastic instead of a thin hair tie? Yes, and it changes the proportions: a thick elastic needs fewer stitches per inch of coverage since there's more elastic circumference to distribute stitches around, but check stretch as you go regardless of elastic thickness, since different elastics stretch by very different amounts.
Why does my scrunchie look thin and floppy instead of full? This is almost always solved by Step 4's second pass — a single pass of single crochet covers the elastic but doesn't add much volume beyond the elastic's own thickness, while the doubled second pass is what actually gives a scrunchie the rounded, substantial look most people picture when they think "scrunchie."
Once the "work stitches directly over a foundation object" technique here feels natural, the crochet keychain patterns use the same scrap-yarn logic in a different shape — a good next 15-minute project for whatever's left in the ball.
Keep going
- 01Crochet Raccoon Pattern (Amigurumi, 7–8in)A bottom-up body with a built-in cream belly stripe, a striped tail worked in alternating color bands, and oval eye masks made from a foundation chain instead of a magic ring — more construction variety than most first amigurumi projects.amigurumi10 min read
- 02Crochet Panda Pattern (Sitting Amigurumi, 18–20cm)A bigger, more detailed panda than most beginner patterns — a two-tone head with eye patches, a separate nose, and toe-pad paws that make it sit up on its own. Single crochet throughout, worsted weight yarn.amigurumi11 min read
- 03Crochet Penguin Pattern (Beginner Friendly, Chenille Yarn)A soft, plush penguin made in chenille yarn instead of the usual worsted cotton — the head and body work as one continuous piece, so there's no seam down the middle to line up.amigurumi9 min read