stitches · tips · 5 min read
How to Change Colors in Crochet (Invisible Join, No Jog)
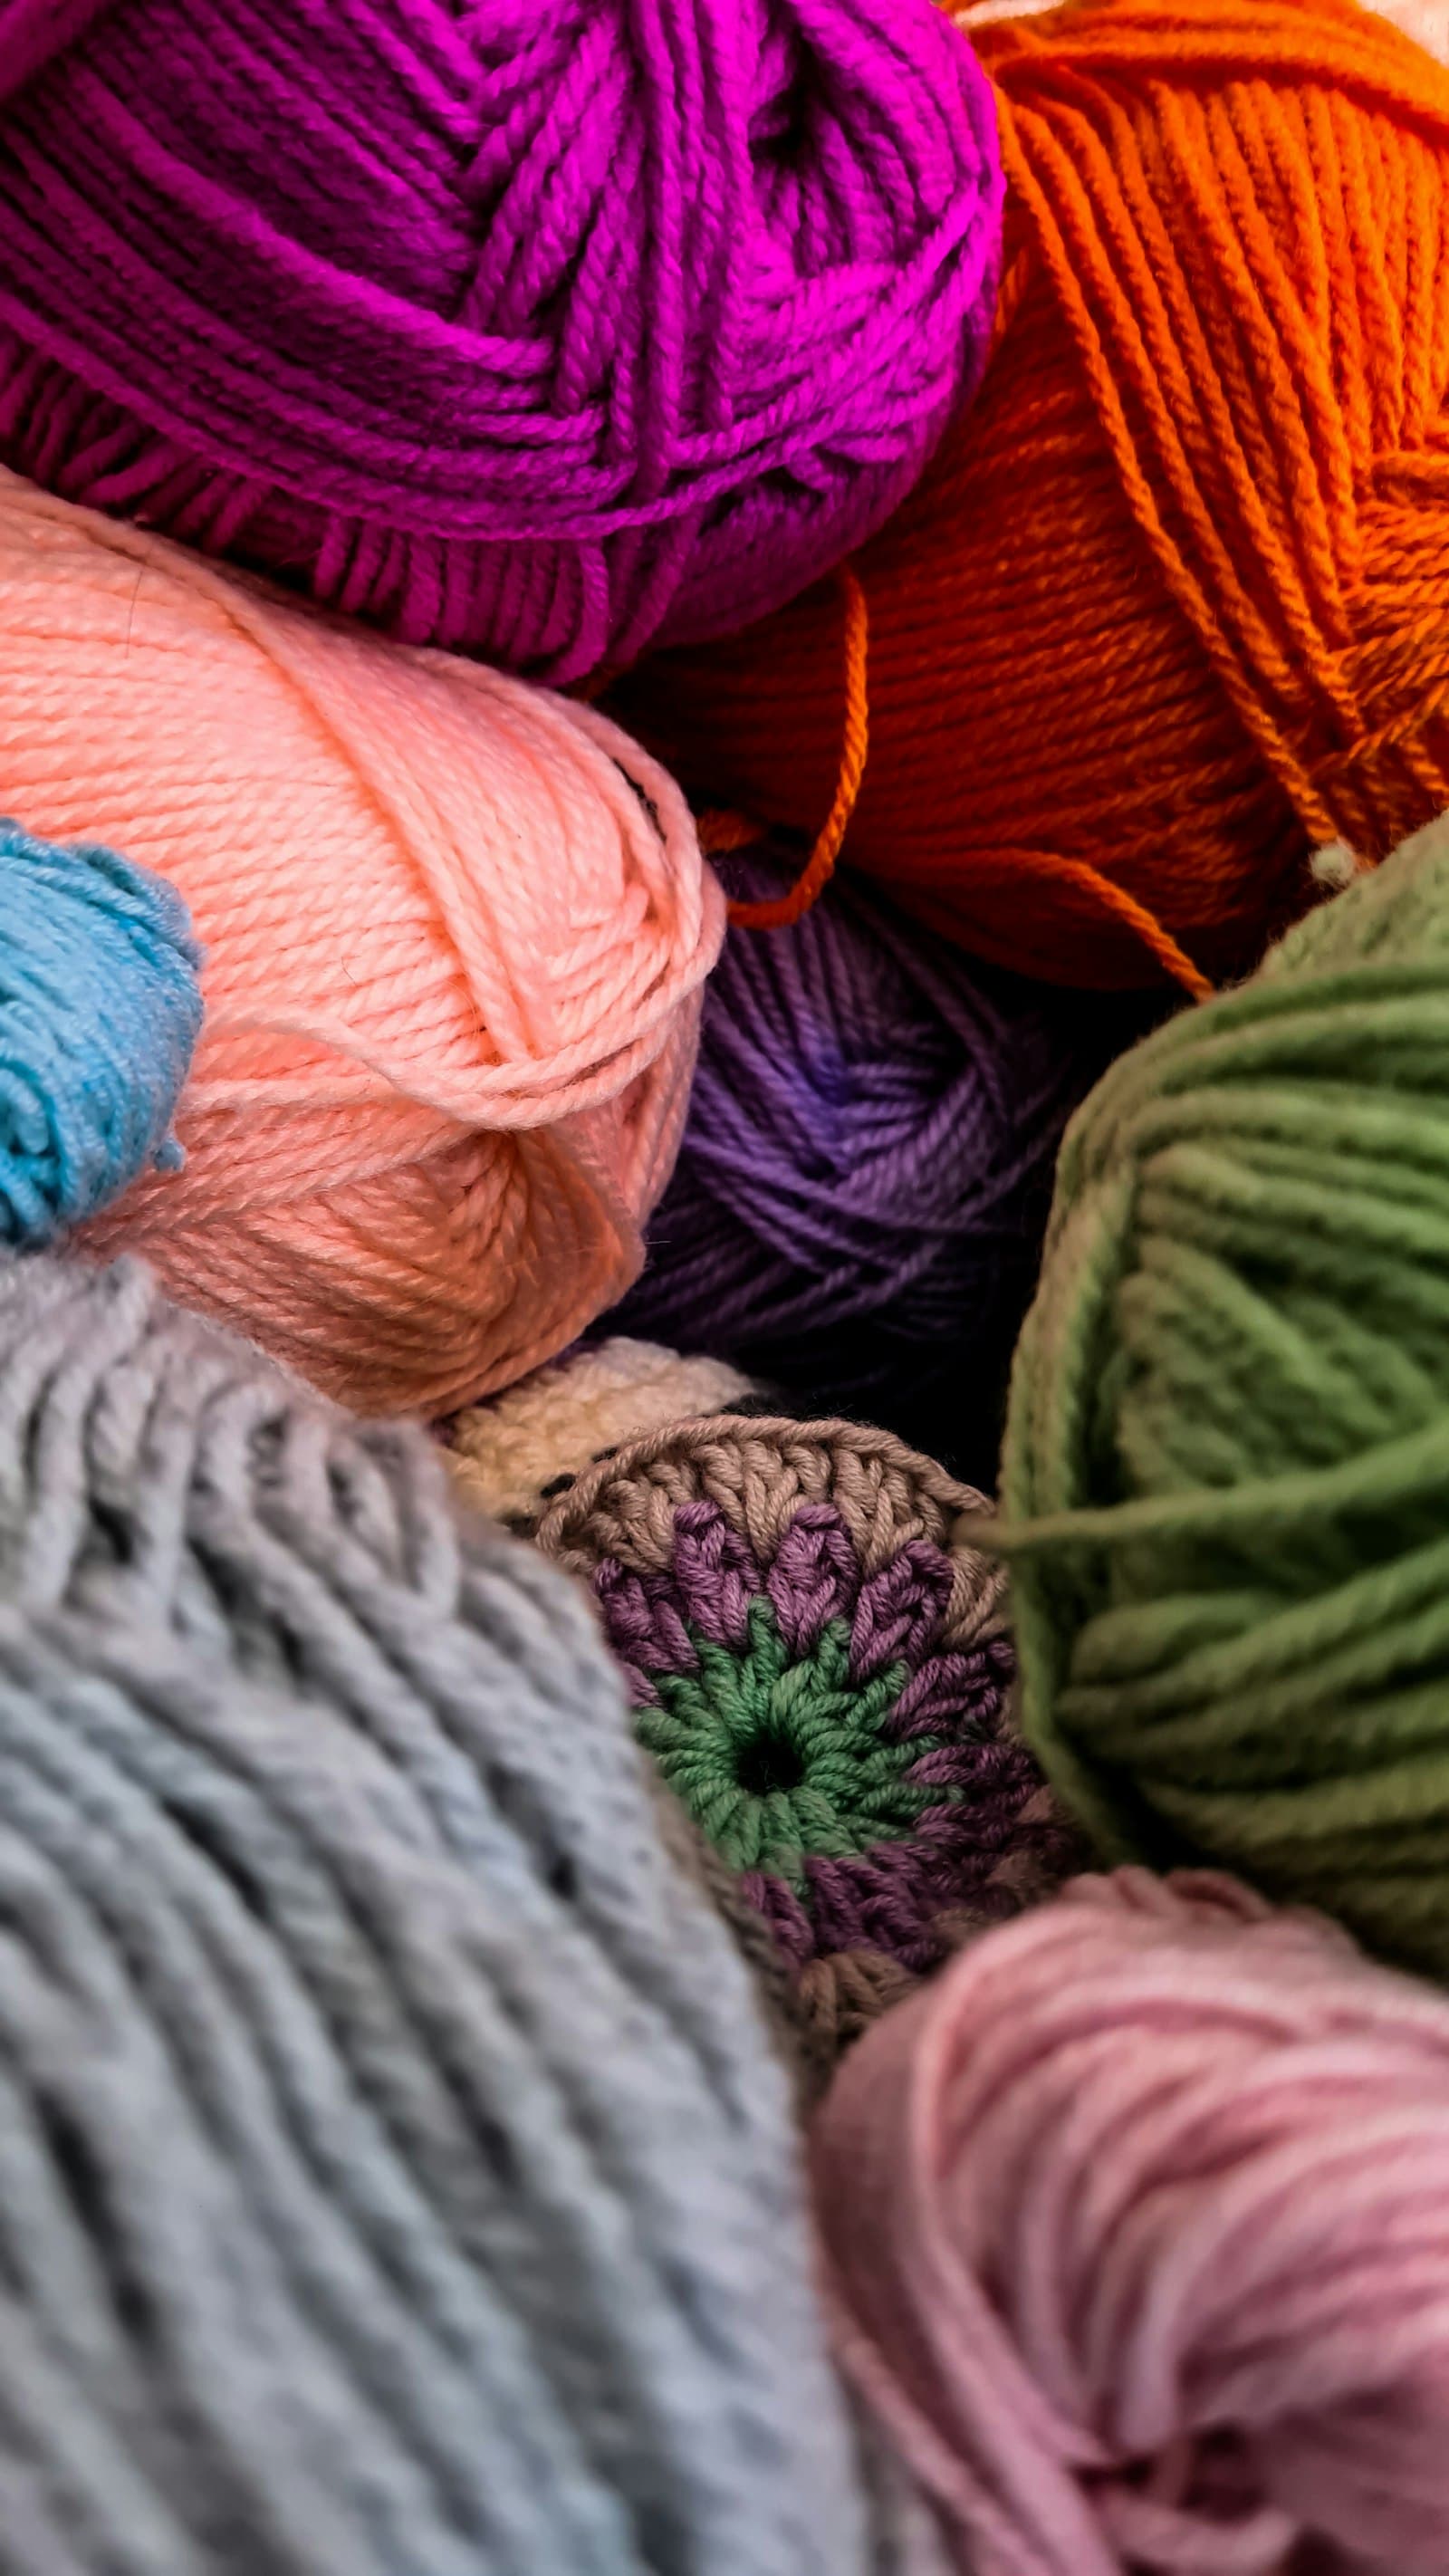
The single most common color-change mistake is finishing the last stitch of the old color completely, then starting the new color fresh on the next stitch. It looks reasonable, but it's exactly backwards — the switch needs to happen mid-stitch, on the final yarn-over of the last stitch in the old color, or every color change leaves a visible little step where the two colors meet.
The core technique: switch on the last pull-through
Whatever stitch you're working — single crochet, double crochet, anything — every stitch ends with a final "yarn over, pull through remaining loops" step. To change color cleanly:
- Work the stitch normally, in the old color, right up until that final yarn-over. You should have the same number of loops on your hook you'd have at that point in any ordinary stitch — nothing about the setup changes yet.
- Instead of yarning over with the old color, yarn over with the new color and pull it through to complete the stitch. This is the one moment that matters: the new strand needs to be the one that closes the stitch, not the one that starts the next stitch.
- The stitch that just finished is now technically "in" the new color at its top, even though its body is the old color — which is exactly what makes the transition invisible. Look at the stitch you just made: the top "V" should already be the new color, with only the taller body underneath still showing the old one. The new color is already loaded on your hook, ready for the next stitch.
- Drop the old color (don't cut it yet if you'll need it again soon — just let it hang) and continue in the new color. If you see a visible line or step right at the top of the stitch instead of a clean color break, the switch happened one stitch too late.
This single change — switching colors one pull-through early — is the entire trick. No special stitch, no extra step, just doing the last yarn-over of the transition stitch in the color you're moving to.
Working in rounds: hiding the "jog"
Rounds have an extra problem straight rows don't: because a round joins back to its own starting point, a color that starts a new round at a different point than where the previous round's color changed creates a visible diagonal "jog" or seam running up through the work.
The fix works over two rounds, in this order:
- On the very first stitch of the new color's round, insert your hook into the back loop only of that stitch, rather than both loops as you normally would. Pull the new color through to start the stitch, then finish that stitch normally from there. You'll be able to see the skipped front loop sitting exposed on top of the stitch, like a small horizontal bar — leave it alone for now, it gets used on the next round.
- Work the rest of that round as usual, then move up to the following round.
- When you reach that same spot on the following round, work your hook through both the skipped front loop from below and the next stitch's two loops together, treating the two as if they were one combined stitch.
Done correctly, this "eats" the half-stitch offset that causes the jog: instead of a visible staircase, you should see a fairly straight vertical line where the colors meet, no more crooked than the natural spiral any round produces.
Handling the color you're not using
- Changing back within a few rounds (stripes): don't cut the color, just carry it up the inside of the work by twisting it once around the working yarn every round or two, so it doesn't leave long floating strands on the wrong side.
- Not using that color again for a while: cut it, leaving a 4–6 inch tail, and weave it in properly rather than trying to carry it across a large gap — a carried strand crossing more than a couple of rounds shows through on the front and can pull the fabric out of shape.
Weaving in the join tails
Every color change leaves two tails — the old color's cut end and the new color's starting end. Weave each one in along the same-color stitches near the join (never crossing into the other color's stitches, where a woven-in tail can show as a faint shadow through lighter yarn), and weave in opposite directions if both tails are at the same spot, to avoid bulk stacking up in one place.
This is the exact technique behind every stripe in the baby blanket pattern and every two-tone piece in the amigurumi panda — anywhere a pattern says "change to color B" without further instruction, this is the method to reach for.
Frequently Asked Questions
Why does my color change still show a small hole or gap? A gap usually means the new color's first stitch was worked too loosely right at the join — snug up that first stitch specifically, since tension there matters more than anywhere else in the row.
Does this technique work for both rows and rounds? The core "switch on the last pull-through" method works identically in both. The back-loop-only trick for hiding the jog is specific to rounds, since flat rows worked back and forth don't have the seam problem rounds do.
Can I use this method with more than two colors in the same project? Yes — the technique is the same no matter how many colors a piece uses; each transition between any two colors gets the same last-pull-through switch, one at a time.
Keep going
- 01How to Bobble Stitch and Puff Stitch (The Two Textured Stitches Everyone's Using)Bobble and puff look similar in a photo and feel completely different in the fabric — one firm and angular, one soft and round. Both explained stitch-by-stitch, plus the swatch that shows you the difference in your own hands.stitches7 min read
- 02Single Crochet vs Double Crochet: Which Should You Use?Same yarn, same hook, two completely different fabrics — one dense and warm, one tall and drapey. Here's how to actually decide between them for a specific project, not just what each stitch is.tips5 min read
- 03How to Read a Crochet Pattern (Abbreviations, Symbols, and Gauge Explained)Chain 2, turn, dc in each st across (18) doesn't look like English the first time you see it. Here's every abbreviation, bracket, and asterisk decoded, plus why gauge matters more than any of them.stitches7 min read