wearables · free-pattern · beginner · 5 min read
Crochet Wrist Warmers Pattern (Ribbed, One Skein, Both Sizes)
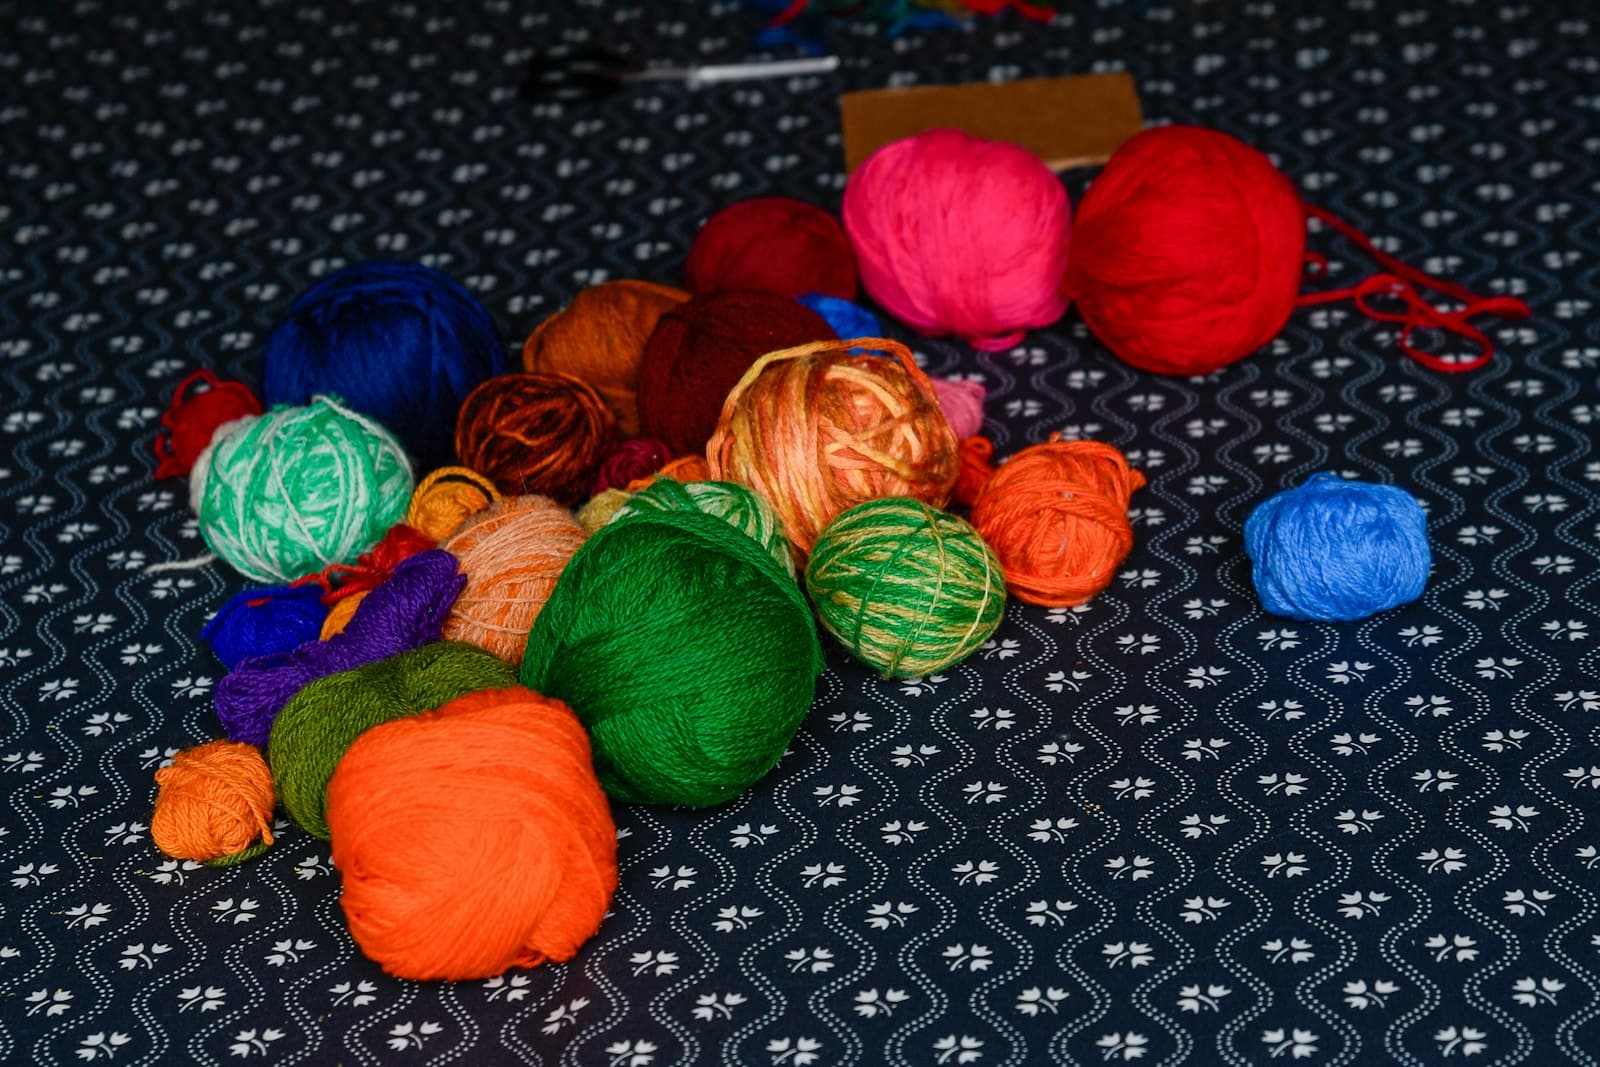
Wrist warmers are having a real moment as a layering piece, and the crochet version is more approachable than it looks: this pattern is worked flat as a simple ribbed rectangle, then seamed into a tube with one gap left open for your thumb — no working in the round, no gusset shaping, no increases to track. The ribbed texture comes from working in the back loop only, the same technique behind the mug cozy's stretchy band.
Materials
- Worsted weight yarn (US #4), about 90–110 yards for a pair
- 5.0mm (US H-8) crochet hook
- Yarn needle
- Stitch markers (2)
Abbreviations
- ch — chain
- sc — single crochet
- BLO — back loop only
- st(s) — stitch(es)
Sizing
This pattern is written for an average adult wrist (6–7 inch circumference). The foundation chain below sets the total width, which becomes the wrist circumference once seamed — check the numbers against your own wrist with a tape measure before starting, since wrist size varies more than most sizing charts admit.
The rectangle
Foundation. Chain 26 (this becomes roughly 6.5 inches of finished width at the gauge below — adjust in multiples of 2 for a snugger or looser fit).
Row 1. Sc in the 2nd ch from hook and each ch across. (25 sts) Ch 1, turn.
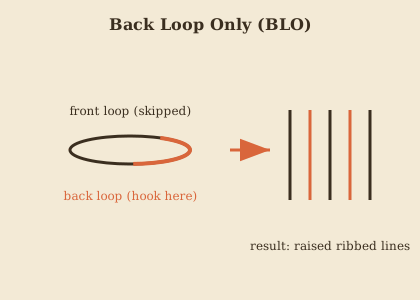
Rows 2–20 (or until the rectangle measures 4–4.5 inches long, a standard wrist-warmer length): BLO sc in each st across. Ch 1, turn. Working every row in the back loop only is what builds the ribbed, stretchy texture running the length of the piece rather than around it.
Fasten off, leaving a 12-inch tail.
Seaming, with the thumb gap
This is the one step that makes this pattern different from a plain cuff, so it's worth doing slowly the first time.
- Fold the rectangle in half lengthwise (so the two short foundation edges meet), right sides together.
- Starting from one long edge, use the yarn needle and tail to whip-stitch the two long edges together, seaming roughly 1.5 inches up from that starting edge.
- Stop seaming and leave a gap of about 1–1.25 inches unsewn — this is the thumb hole.
- Resume whip-stitching past the gap and continue seaming the rest of the long edge closed.
- Turn right-side out. The seamed tube slides onto your hand with the unsewn gap positioned for your thumb to come through.
Try it on before fastening off the seam completely — if the thumb gap lands too high or low for your actual hand, it's easy to unpick a few stitches of whip-stitch and shift the gap while the tail is still live, rather than after it's woven in and cut.
Finishing
Weave in both the starting and ending tails. If you'd like a firmer edge at the wrist and hand openings, add one round of sc directly around each opening: insert your hook into the end of each row along the tube's edge, work a sc into each one to go all the way around, then slip stitch into the first sc to close the round. This extra round also helps stop the raw edges from curling with wear.
Customizing length and fit
- Longer, forearm-covering warmers: add rows to the rectangle in Part 1 before seaming — every 4–5 extra rows adds roughly an inch of length.
- Snugger fit: reduce the foundation chain by 2, which tightens the seamed circumference; check against your wrist before committing, since ribbed BLO fabric has real stretch built in already.
- Two-tone cuff: work the first and last 3–4 rows in a contrasting color using an invisible color join, giving the piece a deliberate striped cuff at each end.
Frequently Asked Questions
Why work in rows and seam instead of crocheting in the round? Working flat avoids the trickiest part of in-the-round wrist warmers — shaping a thumb gusset with increases while keeping tension even in a small diameter. Seaming a flat rectangle with a gap left open gets the same result with much more forgiving, correctable steps, which is why this version is the better starting point if you haven't made wrist warmers before.
My thumb gap is too tight — can I fix it after seaming? Yes — unpick a stitch or two of whip-stitch on either side of the gap to widen it slightly, rather than starting over. If it's tight across the whole piece rather than just the thumb gap, the fix is a looser foundation chain (2 more chains) on the next attempt instead.
Can I make these without any seaming at all? You can work them in the round from the start using magic-ring construction and add a thumb gusset with a short row of extra stitches partway up, but that method requires tracking gusset increases and decreases mid-round — genuinely more advanced than this flat-and-seamed version, and worth trying only once the seaming approach feels comfortable.
Comfortable with BLO ribbing now? The crochet headband pattern uses the same back-loop-only technique in a single flat band — a quick way to practice it again before tackling something bigger.
Keep going
- 01Crochet Bucket Hat Pattern (Adult Sizes, One Skein)The rounded crown, straight sides, and flared brim that make a bucket hat instantly recognizable — worked flat-to-flare in single crochet, with the stitch counts spelled out so it actually turns out symmetrical.wearables6 min read
- 02Easy Crochet Slippers Pattern (Adult Sizes)No shaping, no sizing charts — just two rectangles folded and seamed into a slipper, sized against your own foot instead of a generic chart that never quite fits.wearables5 min read
- 03Crochet Baby Booties Pattern (Newborn to 6 Months)A stretchy ribbed cuff, a simple sole, and a button — the pattern that turns 20 minutes and a handful of leftover yarn into a baby-shower-worthy gift.wearables5 min read