wearables · free-pattern · beginner · 5 min read
Easy Crochet Slippers Pattern (Adult Sizes)
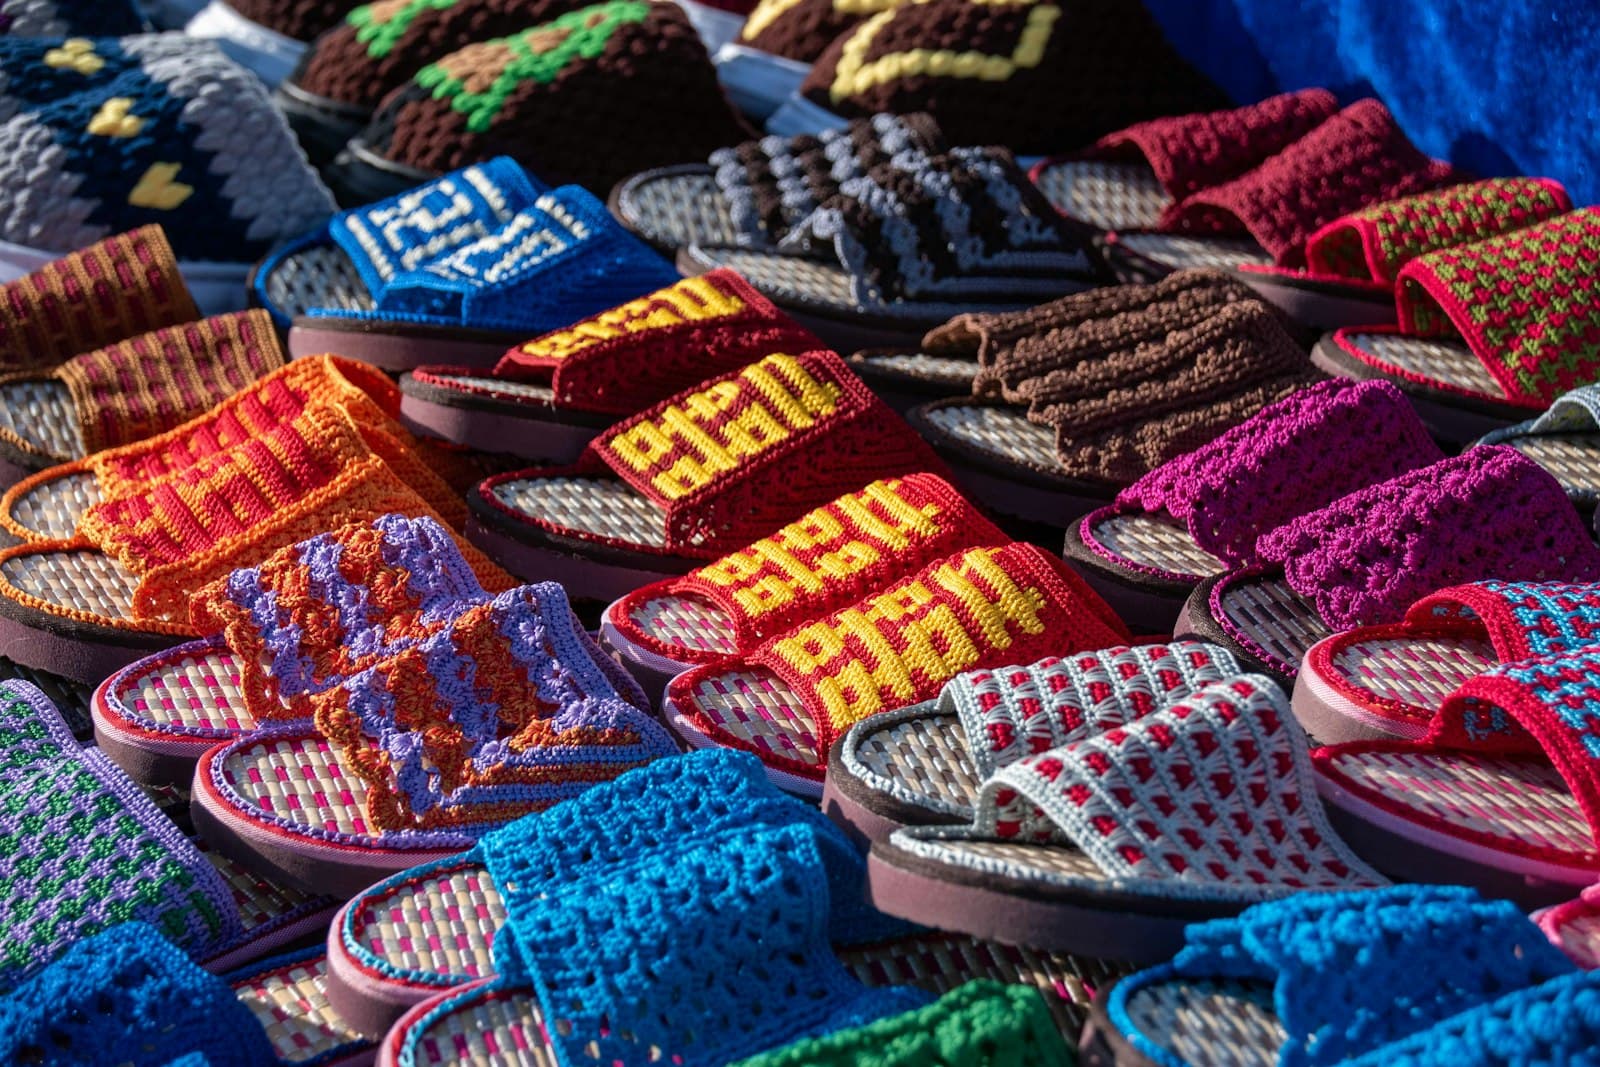
Slippers built from a folded rectangle are the most forgiving footwear pattern in crochet — there's no heel-turning, no sizing chart to fight, and the actual sizing check is the most reliable one that exists: trying the folded fabric against your own foot before you seam anything.
Abbreviations
- ch — chain
- sc — single crochet
- hdc — half double crochet
- st(s) — stitch(es)
Materials
- Worsted or bulky weight yarn (US #4–5) — bulkier yarn makes a warmer, faster-working slipper
- 5.0–6.0mm hook, sized to your yarn
- Yarn needle
- Optional: fabric glue or non-slip fabric paint, for soles
Sizing by measurement, not a chart
Measure your foot from heel to longest toe. This pattern's rectangle needs to measure that length plus about half an inch of ease. Because you're checking the actual folded fabric against your actual foot partway through, a generic S/M/L chart isn't needed here at all.
The rectangle (make 2, one per foot)
Foundation. Chain to roughly 1.3 times your foot-length measurement (this accounts for the fold) — for an average adult foot around 9–10 inches, that's a chain of about 24–26.
Row 1. Hdc in the 3rd chain from the hook and each chain across. Turn.
Row 2 onward. Chain 2 (counts as first hdc), hdc in each st across. Turn.
Repeat Row 2 until the rectangle's width (not length — you're building width now, perpendicular to the foundation chain) measures about 7–8 inches for an average adult foot, enough to wrap comfortably around the top of the foot when folded.
Folding and fitting
Fold the rectangle in half along its length, so the two short foundation-and-final-row edges meet. Try it on your foot now, before any seaming: the fold should sit at your toes, with the two open edges meeting somewhere around your heel and ankle. If it's too snug or too loose, this is the point to add or remove a row before committing to seams.
Seaming
Step 1. With the rectangle folded and the fit already confirmed, thread your yarn needle with the tail and start at the toe fold. Whip-stitch the two side edges together, working from the toe fold back toward the heel.
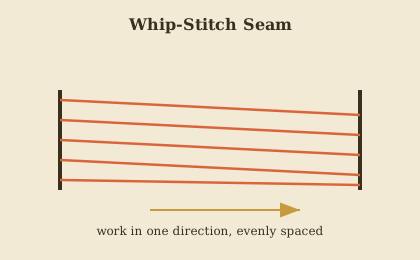
Step 2. Continue the whip-stitch seam for about a third of the total length of the folded rectangle, then stop. This partial seam is what closes the toe box while leaving both the top of the foot and the heel section open.
Step 3. Try the slipper on again before going any further. The open portion should comfortably admit your foot, and the seamed toe section shouldn't pinch or press against your toes. If it feels tight, unpick a stitch or two of the seam before continuing.
Heel closure
Step 1. Gather the two back corners of the still-open heel section together in one hand.
Step 2. Stitch the two corners together snugly, checking the fit against your foot as you go rather than sewing the whole seam before testing it.
Step 3. Keep adjusting and re-testing until the slipper holds onto your heel without slipping off when you walk. This is the one part of the pattern worth trying on twice: a heel closed too loosely is the most common reason a rectangle slipper doesn't stay on.
Finishing
Weave in all tails. For indoor-only slippers, they're ready to wear as-is. For a non-slip sole, apply a zigzag pattern of fabric puff paint to the underside and let it cure fully (usually 24 hours) before wearing — a small addition that makes a real difference on hard floors.
Adjusting
- Warmer: add a folded cuff at the ankle opening using a few extra rows of ribbed BLO single crochet, the same technique the headband pattern uses.
- Different foot sizes in the same household: since sizing is measured directly against a foot rather than read off a chart, this pattern scales to any adult or older child's foot with the same instructions — just measure that specific person before starting their pair.
This same fold-and-seam logic — measure, fold, try on, then commit to the seam — is worth remembering any time a pattern's sizing chart doesn't quite match your own measurements.
Frequently Asked Questions
Are crochet slippers safe on hardwood or tile floors? Not without a non-slip sole treatment — plain yarn is genuinely slippery on smooth flooring. The fabric puff paint method in the pattern, or purchased fabric-safe non-slip sole appliqués, both solve this before the slippers see regular wear.
Can I make these slippers for a child? Yes — measure the child's foot the same way as the adult version and use a smaller starting chain and width to match; the fold-and-fit-check method works at any size since you're checking against the actual foot rather than a fixed chart.
How do I stop the seam from rubbing on my heel? Keep the heel-closure stitches snug but not pulled overly tight, and use a smooth whip stitch rather than a bulkier seam technique — a lumpy or overly tight heel seam is the most common cause of rubbing after the first few wears.
Keep going
- 01Crochet Bucket Hat Pattern (Adult Sizes, One Skein)The rounded crown, straight sides, and flared brim that make a bucket hat instantly recognizable — worked flat-to-flare in single crochet, with the stitch counts spelled out so it actually turns out symmetrical.wearables6 min read
- 02Crochet Wrist Warmers Pattern (Ribbed, One Skein, Both Sizes)A stretchy ribbed rectangle, seamed into a tube with a gap left for the thumb — the layering piece that's trending everywhere this year, worked flat so there's no in-the-round thumb gusset math to fight with.wearables5 min read
- 03Crochet Baby Booties Pattern (Newborn to 6 Months)A stretchy ribbed cuff, a simple sole, and a button — the pattern that turns 20 minutes and a handful of leftover yarn into a baby-shower-worthy gift.wearables5 min read