wearables · free-pattern · beginner · 5 min read
Crochet Headband / Ear Warmer Pattern (One Evening)
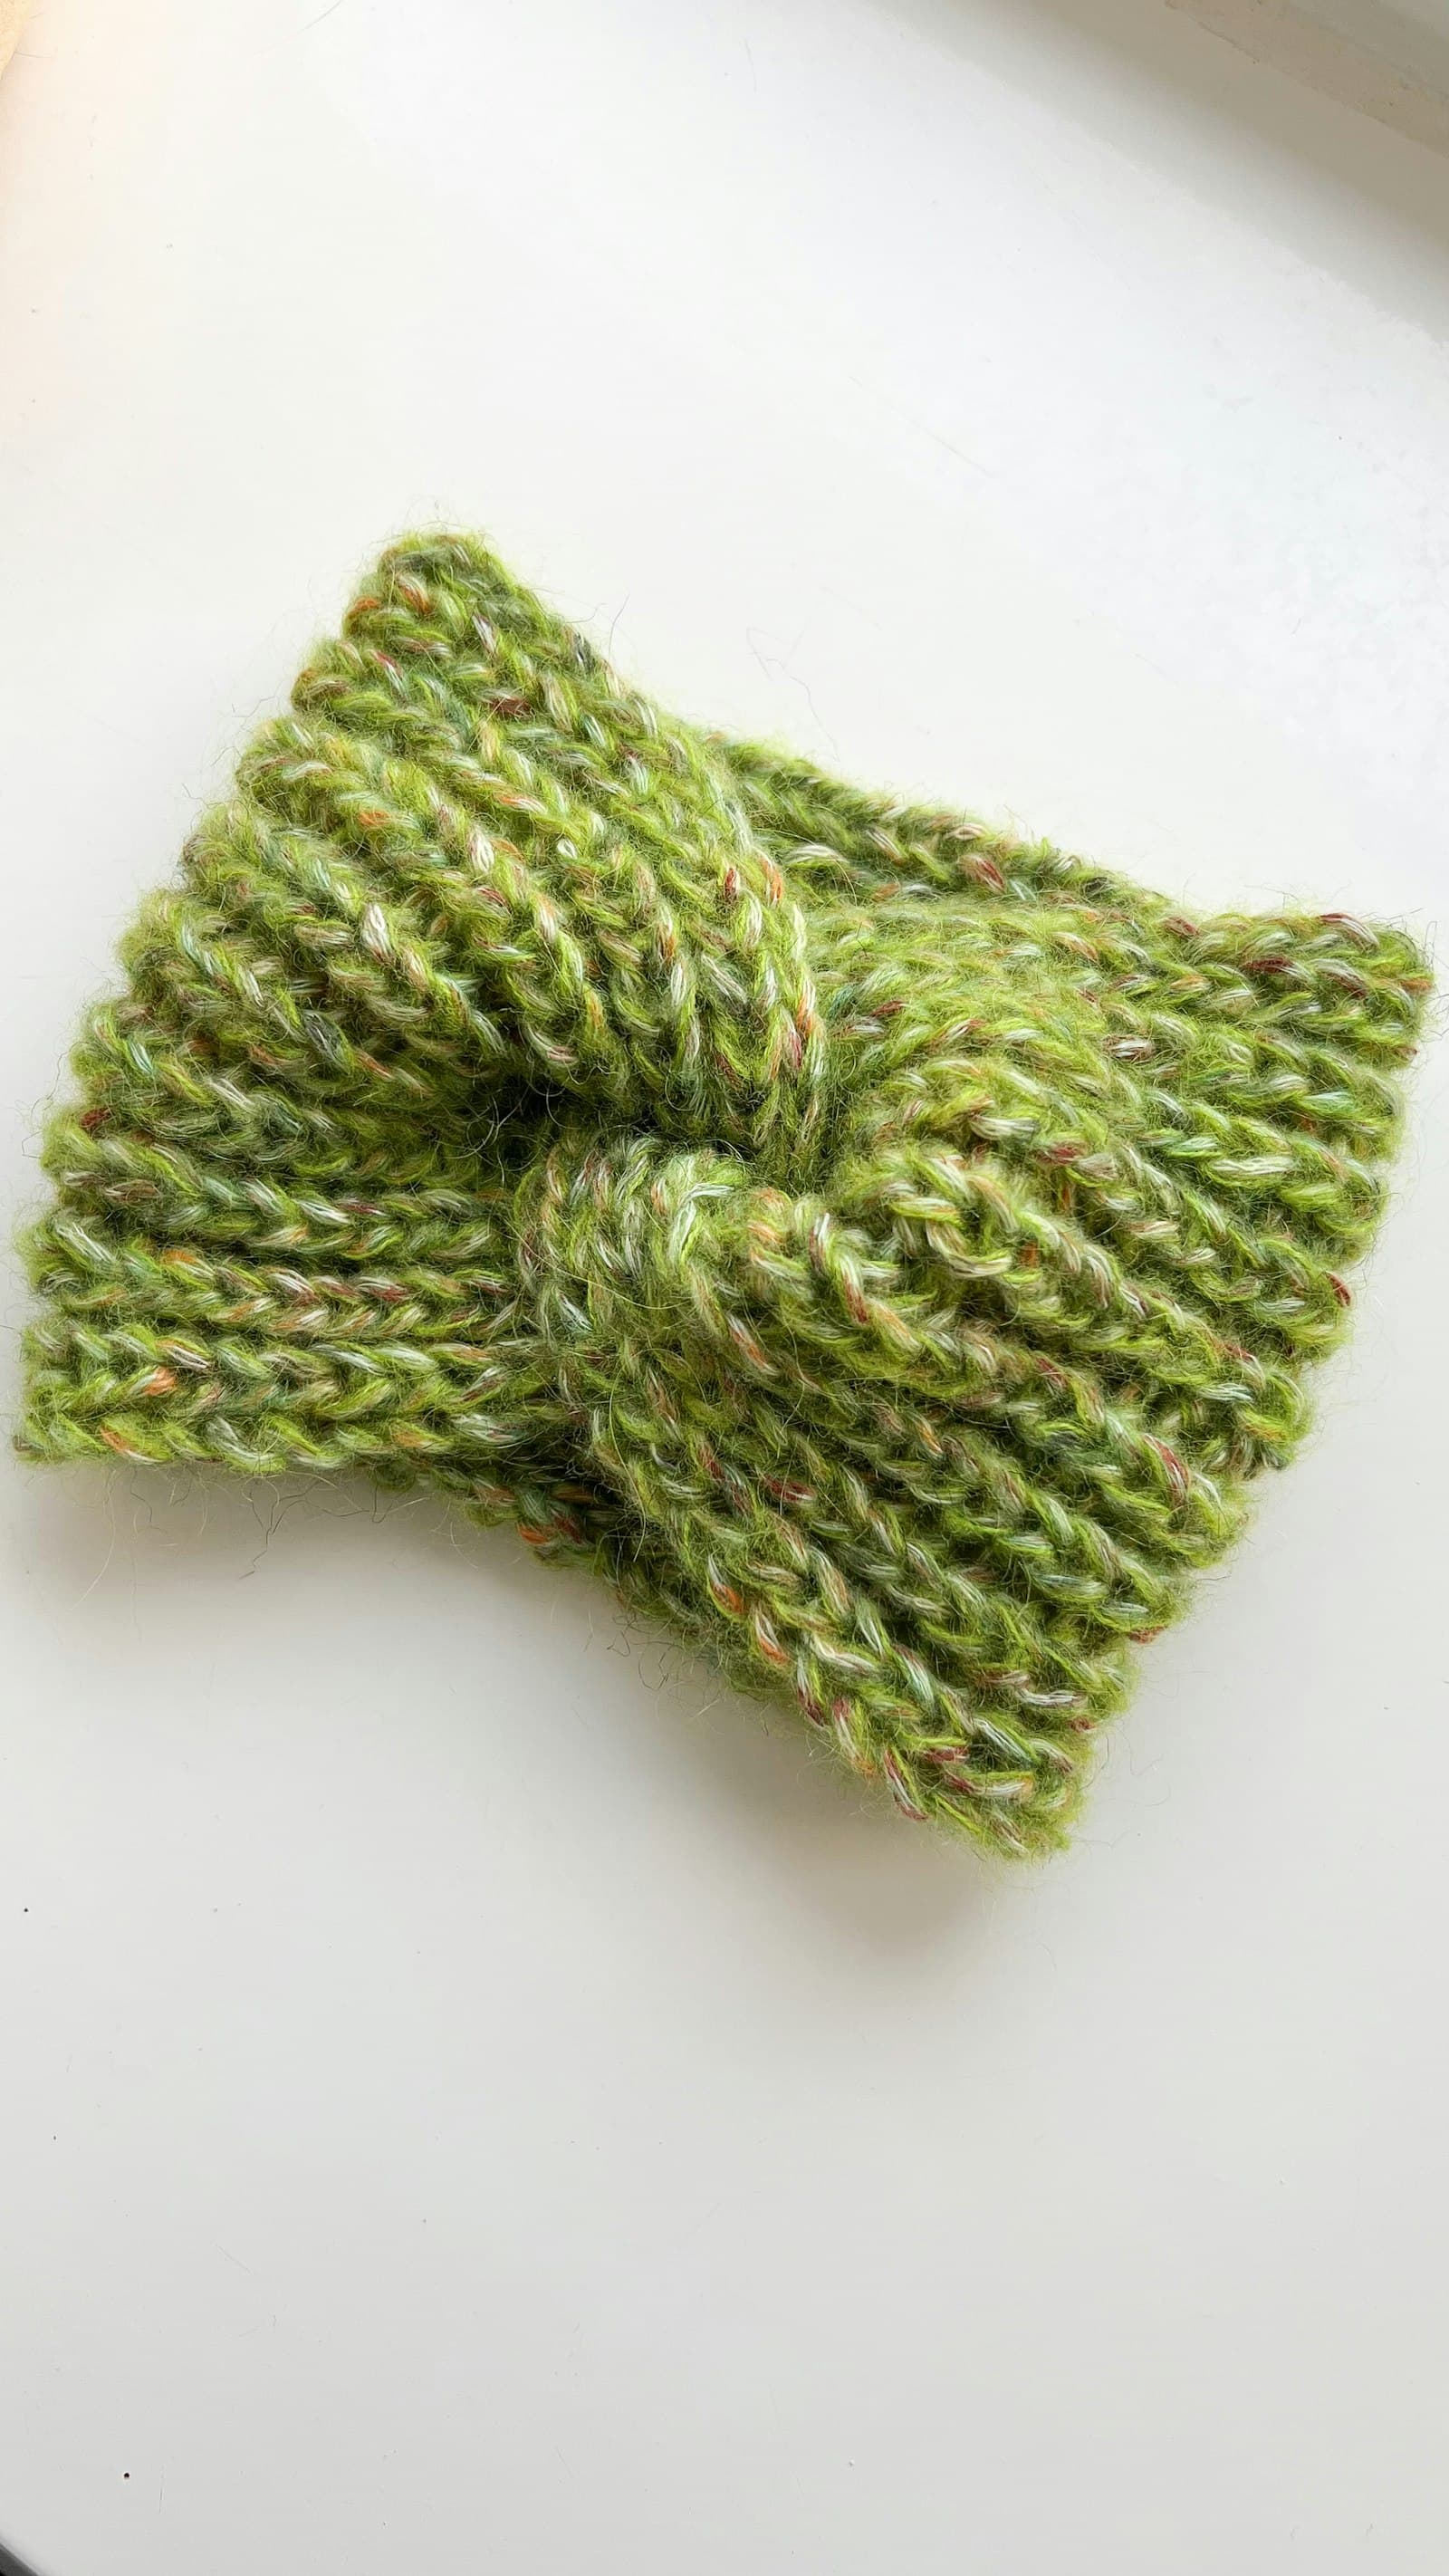
This headband gets its finished, boutique look from one trick: a deliberate slit worked into the middle of the strip, which the other end threads through to create a twist. No seaming, no buttons, no closures to sew on — the twist holds itself shut through friction and the natural elasticity of ribbing.
Abbreviations
- ch — chain
- sc — single crochet
- FLO / BLO — front loop only / back loop only
- st(s) — stitch(es)
Materials
- Bulky weight yarn (US #5), about 100g — a fuzzy or lightly textured yarn hides the ribbing seams beautifully and adds warmth
- 6.0mm (US J-10) hook
- Yarn needle
Gauge and sizing
This pattern is worked sideways, so length (not width) determines the fit. At roughly 8 stitches and 6 rows per 4 inches in this gauge, an adult-sized headband needs about 19–20 inches of finished length before joining. Measure around your head at the point where the band will sit (across the forehead, above the ears) and aim for 1–2 inches less than that measurement — ribbing stretches to fit snugly.
The band, row by row
Foundation. Chain 9.
Row 1. Sc in the 2nd chain from the hook and each chain across. Turn. (8 sts)
Row 2 onward. Chain 1, BLO sc in each st across. Turn. (8 sts) Working in the back loop only every row, on both sides, is what creates the ribbed texture running the length of the band rather than across it.
Keep repeating Row 2 until the strip reaches your target length from the sizing note above.
The twist slit
The slit is worked over two rows, a few inches before the end of your strip — leave enough length remaining after it to still reach your sizing target. On the first of the two rows, replace the usual plain row with this sequence: chain 1, sc across the first 3 stitches, then chain 3 (instead of stitching into the next 2 stitches), skip those 2 middle stitches entirely, then sc across the remaining 3 stitches. That chain-3 bridges the gap where the slit will open up. On the following row, work back across as a normal plain row, treating the chain-3 space from the row below as if it were 2 regular stitches (work 2 sc into it, one for each skipped stitch) so the stitch count stays correct. Together, these two rows leave a small horizontal slit in the middle of the band.
Continue the plain ribbing pattern for the remaining length after the slit.
Joining into a band
Joining happens in three steps once the strip reaches full length. First, thread one end of the strip through the slit from back to front, pulling it all the way through so the band twists on itself the way a common winter headband does. Second, slide the twist along the band until it sits where you want it to show on the finished headband. Third, with the twist held in place, whip-stitch the two short ends of the strip together on the wrong side, matching stitch for stitch across the full width, then weave in the join tail along with the foundation tail.
Adjusting the fit
- Snugger: subtract an inch or two from the target length before joining — ribbing has real stretch, so err short rather than long if you're unsure.
- Wider band: add 2–4 chains to the foundation row; re-center the twist slit's stitch count proportionally (roughly the middle third of the row width).
- No twist, simpler version: skip the slit entirely and whip-stitch the two ends together plain for a classic flat ear warmer — just as warm, one row simpler.
The same BLO ribbing technique scales down neatly into a scarf at a wider width, if the rib texture here is one you'd like to keep using.
Frequently Asked Questions
Will the twist come undone during the day? No — the twist holds through friction and the natural grip of ribbed fabric against itself, the same way a fabric twisted headband stays closed. If your yarn is very slippery (some acrylics are), a single small stitch tacking the twist in place from the wrong side adds security with no visible change from the front.
Can I make this without bulky yarn? Yes — a worsted weight yarn works fine with a slightly smaller hook (5.0mm instead of 6.0mm); the band will simply be thinner and less insulating, closer to a fashion accessory than a true ear warmer.
How do I make it for a child instead of an adult? Measure the child's head the same way as the adult sizing note, subtracting the same 1–2 inches for ribbing stretch. Most children's headbands finish at 16–18 inches before joining, compared to 19–20 for an adult.
Keep going
- 01Crochet Bucket Hat Pattern (Adult Sizes, One Skein)The rounded crown, straight sides, and flared brim that make a bucket hat instantly recognizable — worked flat-to-flare in single crochet, with the stitch counts spelled out so it actually turns out symmetrical.wearables6 min read
- 02Crochet Wrist Warmers Pattern (Ribbed, One Skein, Both Sizes)A stretchy ribbed rectangle, seamed into a tube with a gap left for the thumb — the layering piece that's trending everywhere this year, worked flat so there's no in-the-round thumb gusset math to fight with.wearables5 min read
- 03Easy Crochet Slippers Pattern (Adult Sizes)No shaping, no sizing charts — just two rectangles folded and seamed into a slipper, sized against your own foot instead of a generic chart that never quite fits.wearables5 min read