wearables · free-pattern · beginner · 5 min read
Crochet Hair Bandana / Headscarf Pattern (Ties to Fit Any Head)
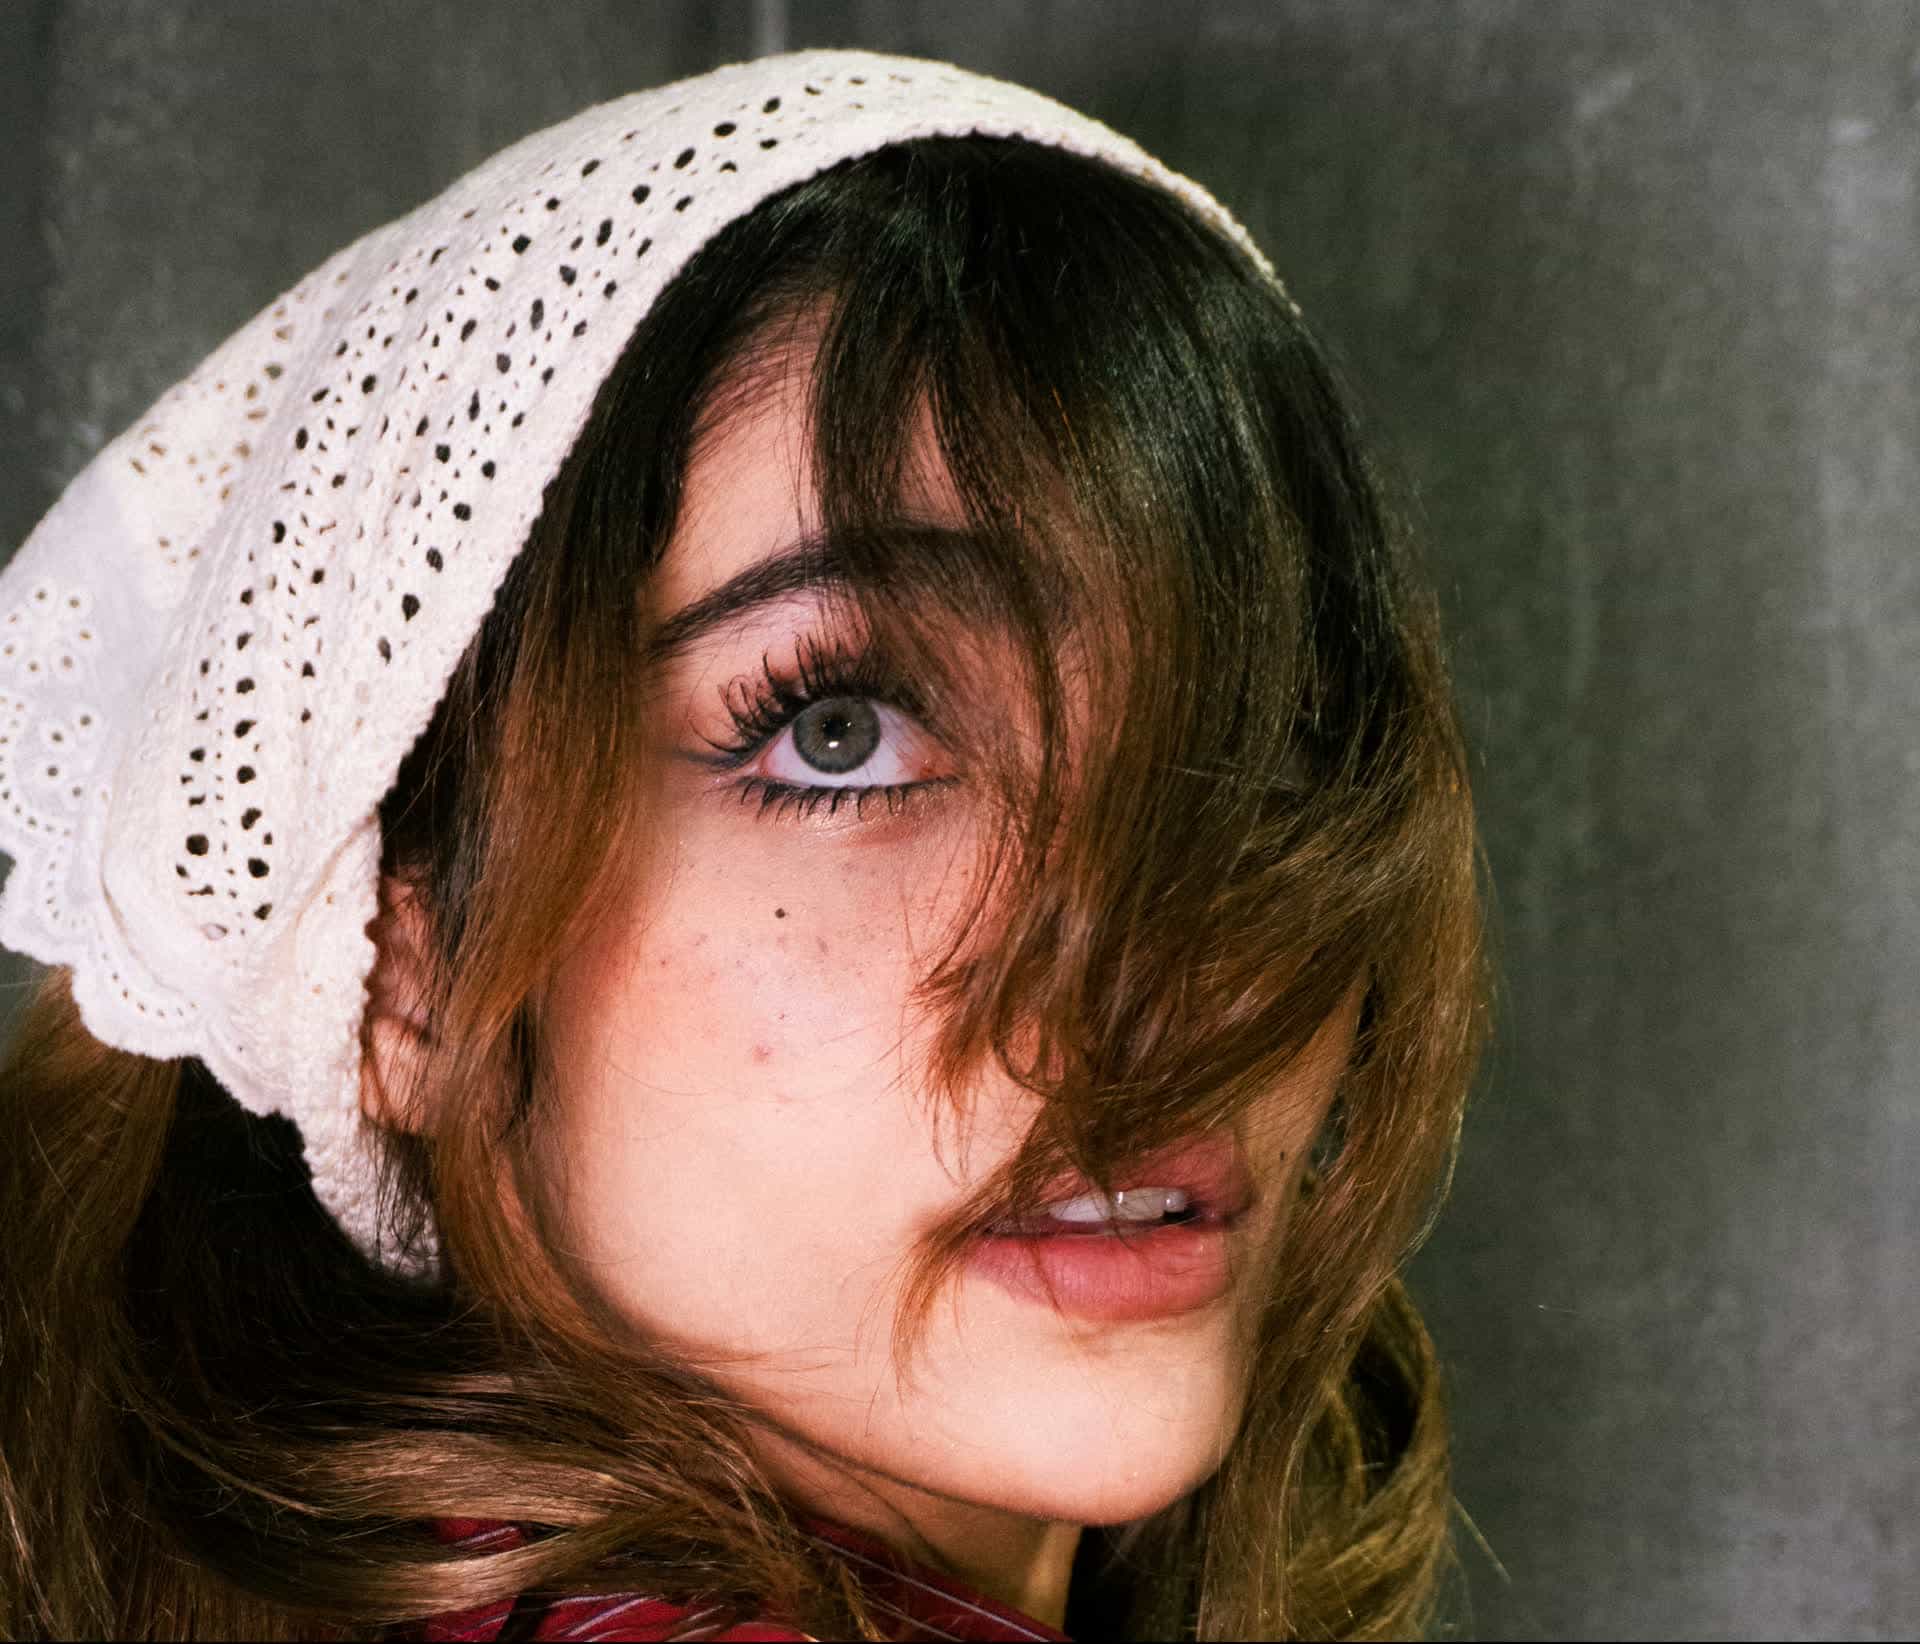
This is a different shape from the dog bandana pattern on this site — a dog bandana ties loosely around the neck, but a hair bandana needs to sit snugly across the hairline and hold through movement, which means a wider triangle, a flatter row-by-row construction instead of corner-to-corner, and ties long enough to knot securely at the nape or crown.
Abbreviations
- ch — chain
- hdc — half double crochet
- st(s) — stitch(es)
- sk — skip
Materials
- Light or worsted weight yarn (US #3–4) — a lighter yarn drapes more like fabric across the hairline, which is what makes this read as a headscarf rather than a stiff triangle
- 4.5–5.0mm hook (sized for a #3–4 yarn to keep the fabric soft, not dense)
- Yarn needle
Gauge and sizing
Gauge isn't critical for fit here since the ties adjust the final size, but this pattern is worked to roughly 14 stitches and 10 rows per 4 inches in hdc at this weight. The triangle's finished width (from point to the base) should measure about 9–10 inches for an average adult head; the row counts below build to that size.
The triangle, row by row
Foundation. Chain 4.
Row 1. Hdc in the 3rd chain from the hook and the last chain. Turn. (2 sts, plus the 2 turning chains)
Row 2. This row adds one stitch at each end. Chain 2 (this counts as your first hdc), then work a second hdc into that very same stitch — that's the increase at the start of the row. Hdc in each stitch across the row normally. At the last stitch, work 2 hdc into it instead of 1 — the increase at the end of the row. Turn. (increases by 2 sts each row: one at the start, one at the end)
Repeat Row 2 until the triangle's two straight edges each measure about 9–10 inches — roughly 26–30 rows, depending on your tension — checking width against a tape measure rather than counting a fixed row target, since hdc height varies more between crocheters than sc does.
Final row. Work one plain row of hdc across with no increases, to give the base edge a clean, non-pointed finish where the ties will attach.
Fasten off, leaving a long tail.
The ties
Work each tie as its own separate step. At the first of the two base corners (the ends of the long straight edge, not the point), attach yarn and chain 60–70, holding the growing chain against your own head as you go to check it's long enough to wrap and knot securely under your hair or at the nape of the neck. Fasten off once it reaches a comfortable length. Move to the second base corner and repeat the same step: attach yarn, chain to a matching length, fasten off. Weave in all ends once both ties are done, including the tail at the point of the triangle where the first two stitches met.
Wearing it
The classic retro styling: place the long straight edge (with the two ties) at your hairline, point trailing down the back of your head, then cross the two ties at the nape of the neck and knot them either underneath your hair or on top, whichever holds better with your length and thickness of hair. The triangle's point can be left hanging at the back or tucked under the tie knot for a more compact look.
Adjusting the pattern
- Smaller head / a child's size: stop increasing 4–6 rows earlier than the 26–30 row range above.
- Denser, less drapey fabric: switch to single crochet instead of half double for a firmer triangle that holds its shape more like the dog bandana's structure — useful if you want it to double as a neckerchief instead of a hair covering.
- Add a border: one row of single crochet around the two straight edges (skip the point) cleans up the increase edge and adds a bit of structure without changing the drape much.
Half double crochet is the workhorse stitch behind this entire pattern — the 5 stitches guide covers the motion in under a minute if it's new to you.
Frequently Asked Questions
Will this headscarf stay on during exercise or wind? The tied construction holds more securely than a plain hairband since it's anchored at two points rather than relying on elastic tension alone, but very fine or slippery hair may need the ties knotted twice for extra security during high-movement activities.
Can I wear this over a hijab or under a hat? Yes — since it's a lightweight fabric triangle rather than a form-fitted cap, it layers easily under a hat for extra warmth or over existing headwear as a decorative accent, the same way a fabric headscarf would.
What yarn weight looks best for this pattern? Light or worsted weight cotton or a cotton-blend gives the most fabric-like drape described in the pattern. A pure wool or fuzzy acrylic will work structurally but reads as noticeably bulkier and less like a classic tied headscarf.
Keep going
- 01Crochet Bucket Hat Pattern (Adult Sizes, One Skein)The rounded crown, straight sides, and flared brim that make a bucket hat instantly recognizable — worked flat-to-flare in single crochet, with the stitch counts spelled out so it actually turns out symmetrical.wearables6 min read
- 02Crochet Wrist Warmers Pattern (Ribbed, One Skein, Both Sizes)A stretchy ribbed rectangle, seamed into a tube with a gap left for the thumb — the layering piece that's trending everywhere this year, worked flat so there's no in-the-round thumb gusset math to fight with.wearables5 min read
- 03Easy Crochet Slippers Pattern (Adult Sizes)No shaping, no sizing charts — just two rectangles folded and seamed into a slipper, sized against your own foot instead of a generic chart that never quite fits.wearables5 min read