free-pattern · beginner · 6 min read
Crochet Phone Pouch Pattern (Fits Most Phones, One Evening)
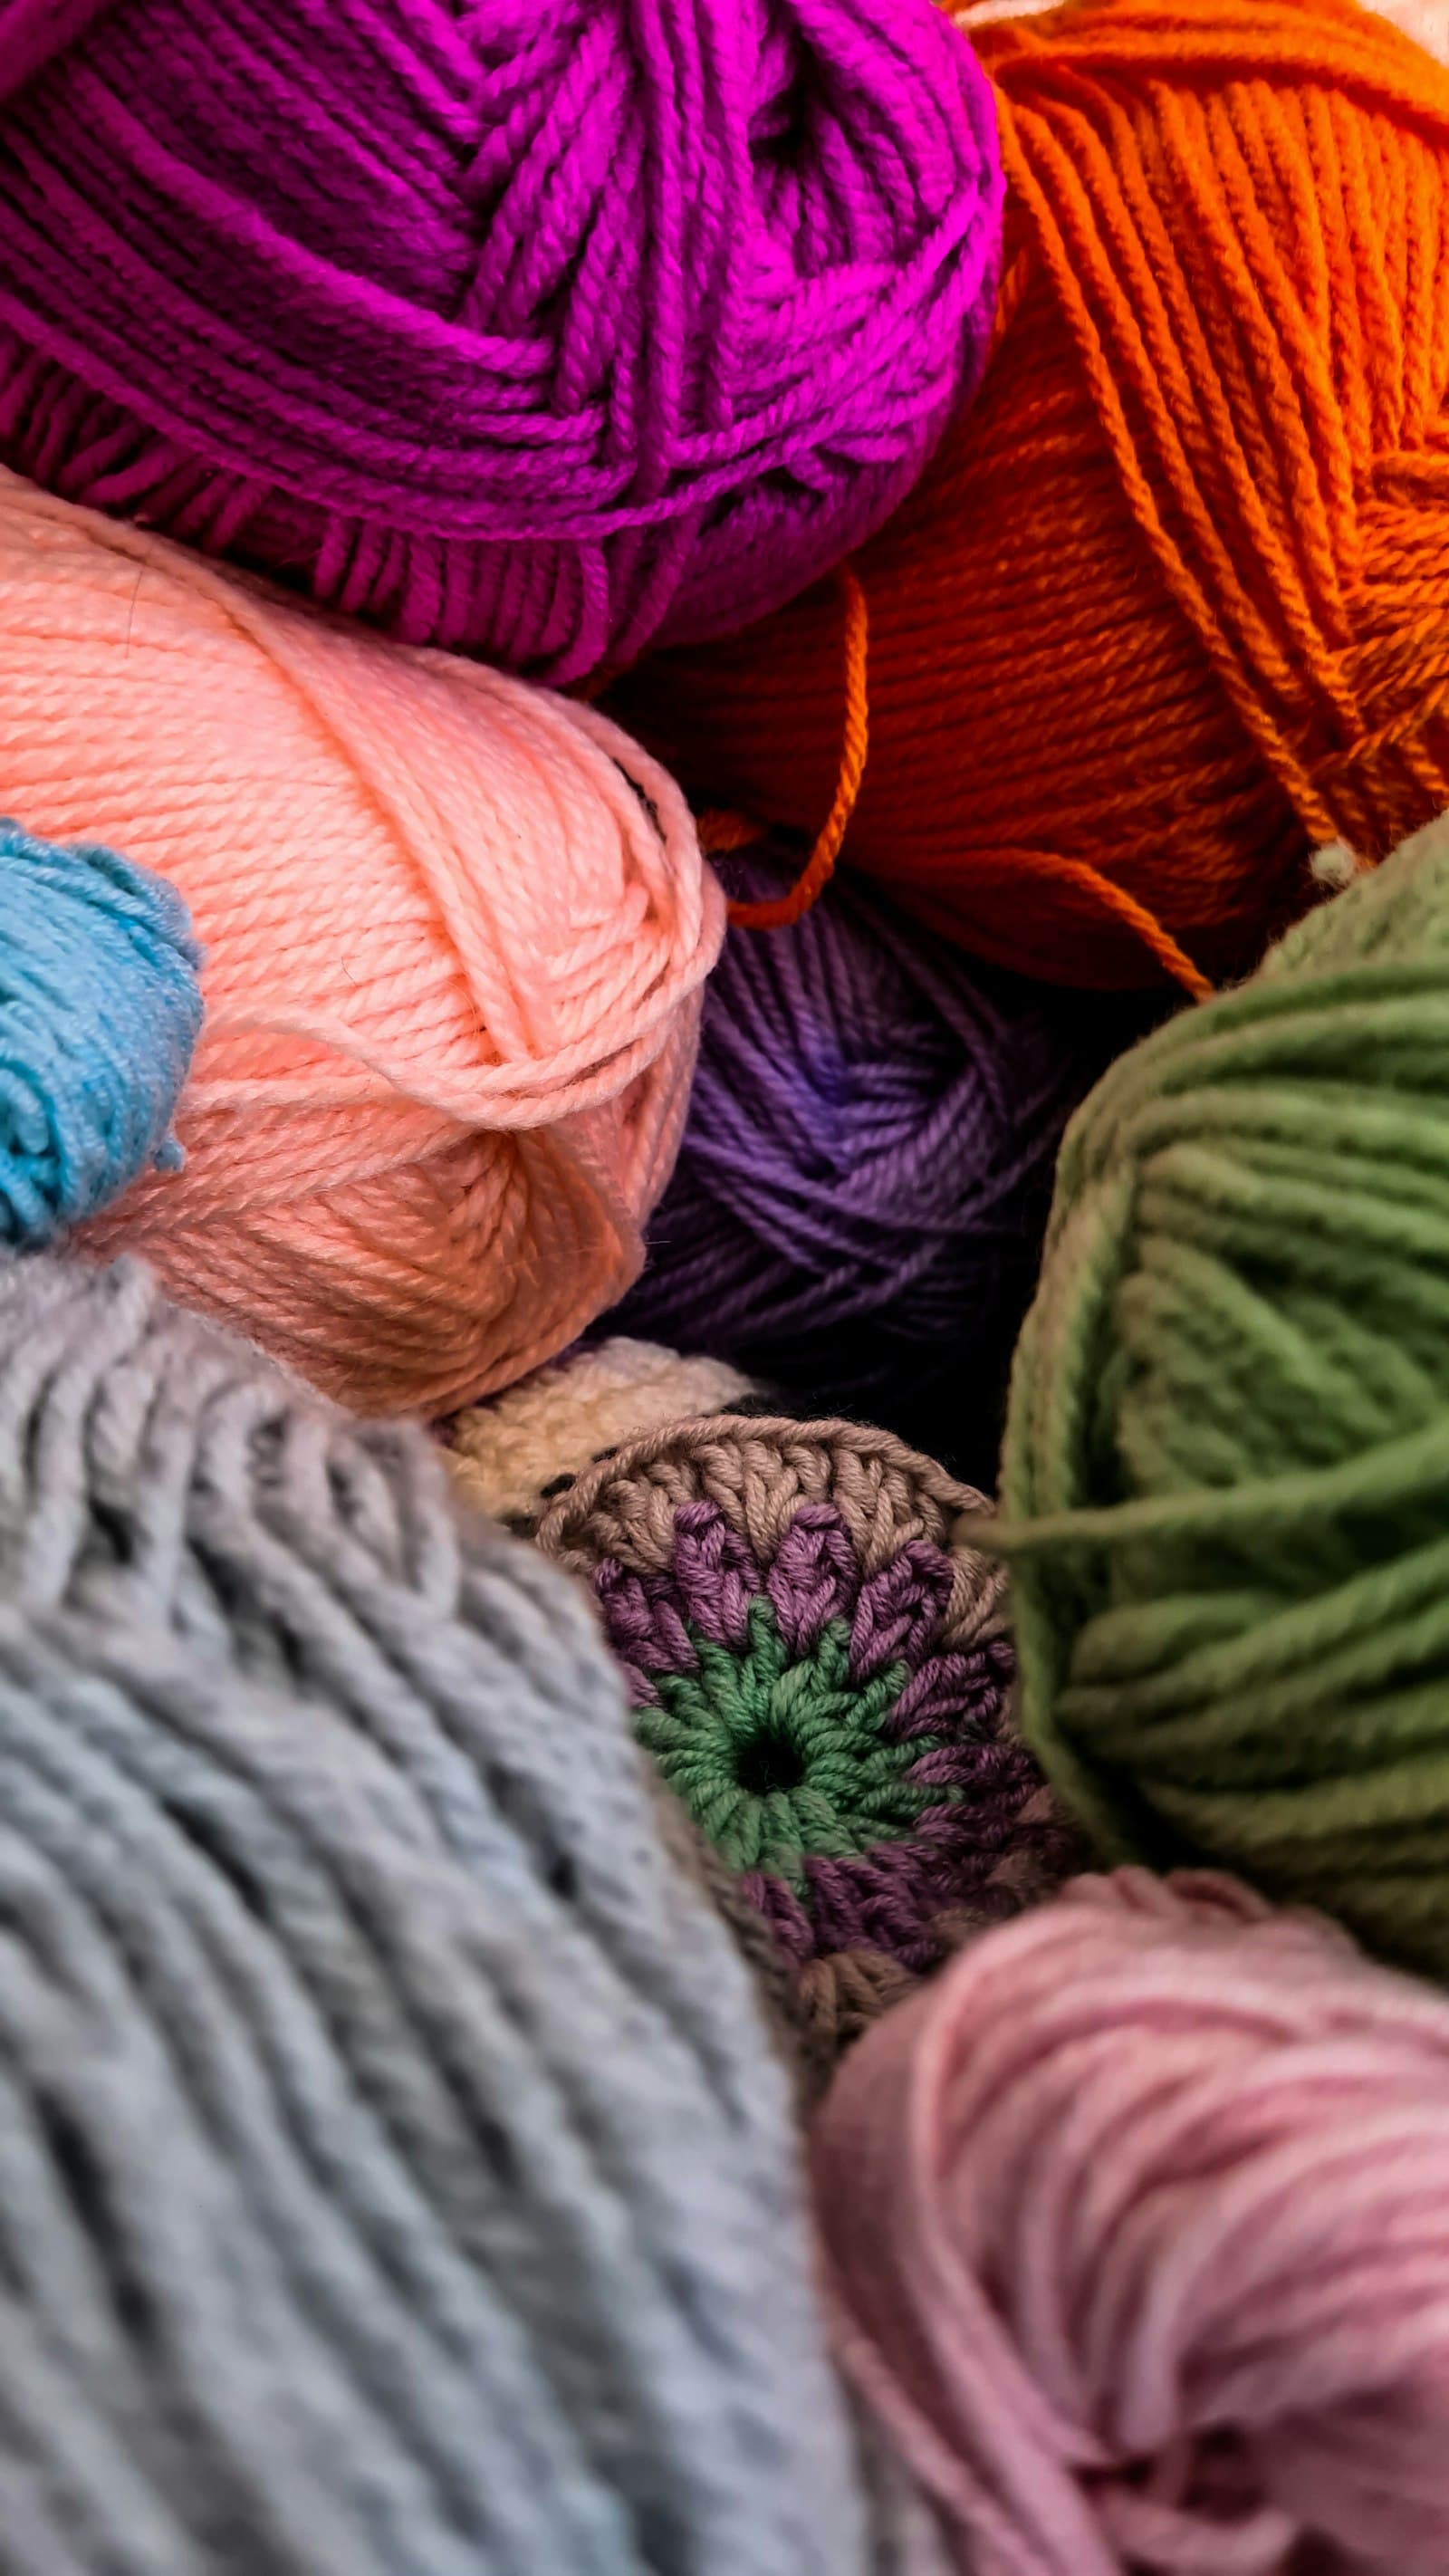
A phone pouch is a genuinely useful small project that teaches a real skill you'll use everywhere else: building a flat base, then working straight up in the round without any increases — the exact structure behind bags, pencil cases, and drawstring pouches of every size. This version is sized for a standard smartphone (roughly 2.7–3.1 inches wide, 5.8–6.5 inches tall), with notes below for adjusting to a case-on phone or a smaller device.
Materials
- Worsted weight yarn (US #4), about 60–80 yards
- 5.0mm (US H-8) crochet hook
- One button, ¾–1 inch
- Yarn needle
- Your phone, to check the fit as you go
Abbreviations
- ch — chain
- sl st — slip stitch
- sc — single crochet
- st(s) — stitch(es)
Gauge
Not critical, but this pattern runs at roughly 4 stitches and 4 rows per inch in single crochet with the yarn and hook above — enough to know whether you should size the base up or down for your own phone.
Part 1: the base
Worked flat, then the sides are picked up straight from its edge — this "oval base into a tube" construction is the same logic behind most fabric pouches and bags, just scaled down.
Foundation. Chain 10.
Round 1. Sc in the 2nd ch from the hook and in each chain across (9 sc) to complete the first straight side. When you reach the last chain, work 3 sc into that same chain — this turns the corner and starts rounding the first curved end. Rotate the piece and sc back down the other side of the same foundation chain (9 sc) to complete the second straight side. Finish by working 2 sc into the same starting chain, which closes the oval and rounds out the second curved end. (22 sts total — you should have a small, symmetrical oval that already looks like a tiny place mat.)
Lay this oval against your phone — it should match the phone's width and depth footprint closely, with almost no extra room. If your phone is noticeably wider, add 2–4 chains to the foundation (always an even number, to keep the oval symmetrical) and repeat Round 1's shaping.
Part 2: the sides
No increases here — every round works straight up from the base's stitch count to build the pouch's height.
Rounds 2–15 (or until the sides reach your phone's height plus half an inch): Sc in each st around, joining with a sl st to the first sc of the round if working in joined rounds, or continuing in a spiral with a stitch marker moved up each round. Check the fit against your actual phone every few rounds — height varies more between phone models than width does, so a fixed row count is a rough guide, not a rule.
Part 3: the closure flap and button loop
Flap row. Once the sides reach full height, work only across half the round's stitches (roughly 11 of the 22) rather than continuing all the way around — this half-round becomes a flap that folds over the pouch's opening. Turn.
Flap rows 2–4. Ch 1, turn, sc across the flap stitches. Repeat for 2 more rows, decreasing one stitch at the start and end of the final row if you want a slightly tapered flap tip rather than a square one.
Button loop. On the last flap row, work sc as normal until 2 stitches remain. Chain 5 — this chain becomes the loop the button will pass through. Skip the next 2 stitches, leaving a small gap so the loop sits free of the flap rather than flat against it. Sl st in the last stitch to anchor the other end of the loop. Fasten off, leaving a 6-inch tail.
Finishing
Weave in the starting tail. Fold the flap down over the pouch opening and mark where the button-loop chain naturally lands on the front of the pouch — sew the button there using the ending tail and a yarn needle. Slide your phone in, fold the flap over, and loop the chain-5 over the button to close.
Sizing it to a different phone
- Phone with a case on: add 1–2 extra chains to the foundation to account for case thickness, and check the base oval against the cased phone rather than the bare device.
- Smaller device (like a compact phone or an e-reader remote): start the foundation chain at 8 instead of 10, and reduce Part 2's row count proportionally.
- No-button version: skip Part 3's button loop entirely and instead work the flap long enough to tuck snugly under the pouch's front edge, held by friction and the fabric's own stretch rather than a fastener.
Frequently Asked Questions
Will a crochet phone pouch actually protect my phone from drops? It softens minor bumps and protects the screen from scratches while it's in a bag with keys or coins, but crochet fabric has no rigid shell, so it won't meaningfully protect against a direct drop onto a hard floor the way a case does — think of this as a soft carrying pouch, not a case replacement.
My pouch came out too tight to fit my phone — what went wrong? Almost always the base oval in Part 1 was worked too small for the phone's actual width — measure your phone's width and depth before starting, not after, and compare it against the flat oval at the end of Round 1 rather than assuming the given chain-10 foundation fits every phone.
Can I add a wrist strap or lanyard loop? Yes — before fastening off in Part 3, chain 30–40 (enough to comfortably loop over a wrist) at one of the pouch's top corners, slip stitch back down the chain to the same corner to reinforce it, then fasten off, giving the pouch a hanging loop without any extra sewing.
The button-and-loop closure here is the same one used on the mug cozy pattern — once it feels familiar, that's a good next project for practicing it on a simpler tube shape.
Keep going
- 01Crochet Raccoon Pattern (Amigurumi, 7–8in)A bottom-up body with a built-in cream belly stripe, a striped tail worked in alternating color bands, and oval eye masks made from a foundation chain instead of a magic ring — more construction variety than most first amigurumi projects.amigurumi10 min read
- 02Crochet Panda Pattern (Sitting Amigurumi, 18–20cm)A bigger, more detailed panda than most beginner patterns — a two-tone head with eye patches, a separate nose, and toe-pad paws that make it sit up on its own. Single crochet throughout, worsted weight yarn.amigurumi11 min read
- 03Crochet Penguin Pattern (Beginner Friendly, Chenille Yarn)A soft, plush penguin made in chenille yarn instead of the usual worsted cotton — the head and body work as one continuous piece, so there's no seam down the middle to line up.amigurumi9 min read