free-pattern · home-decor · 5 min read
3 Crochet Christmas Ornament Patterns (Quick Weekend Projects)
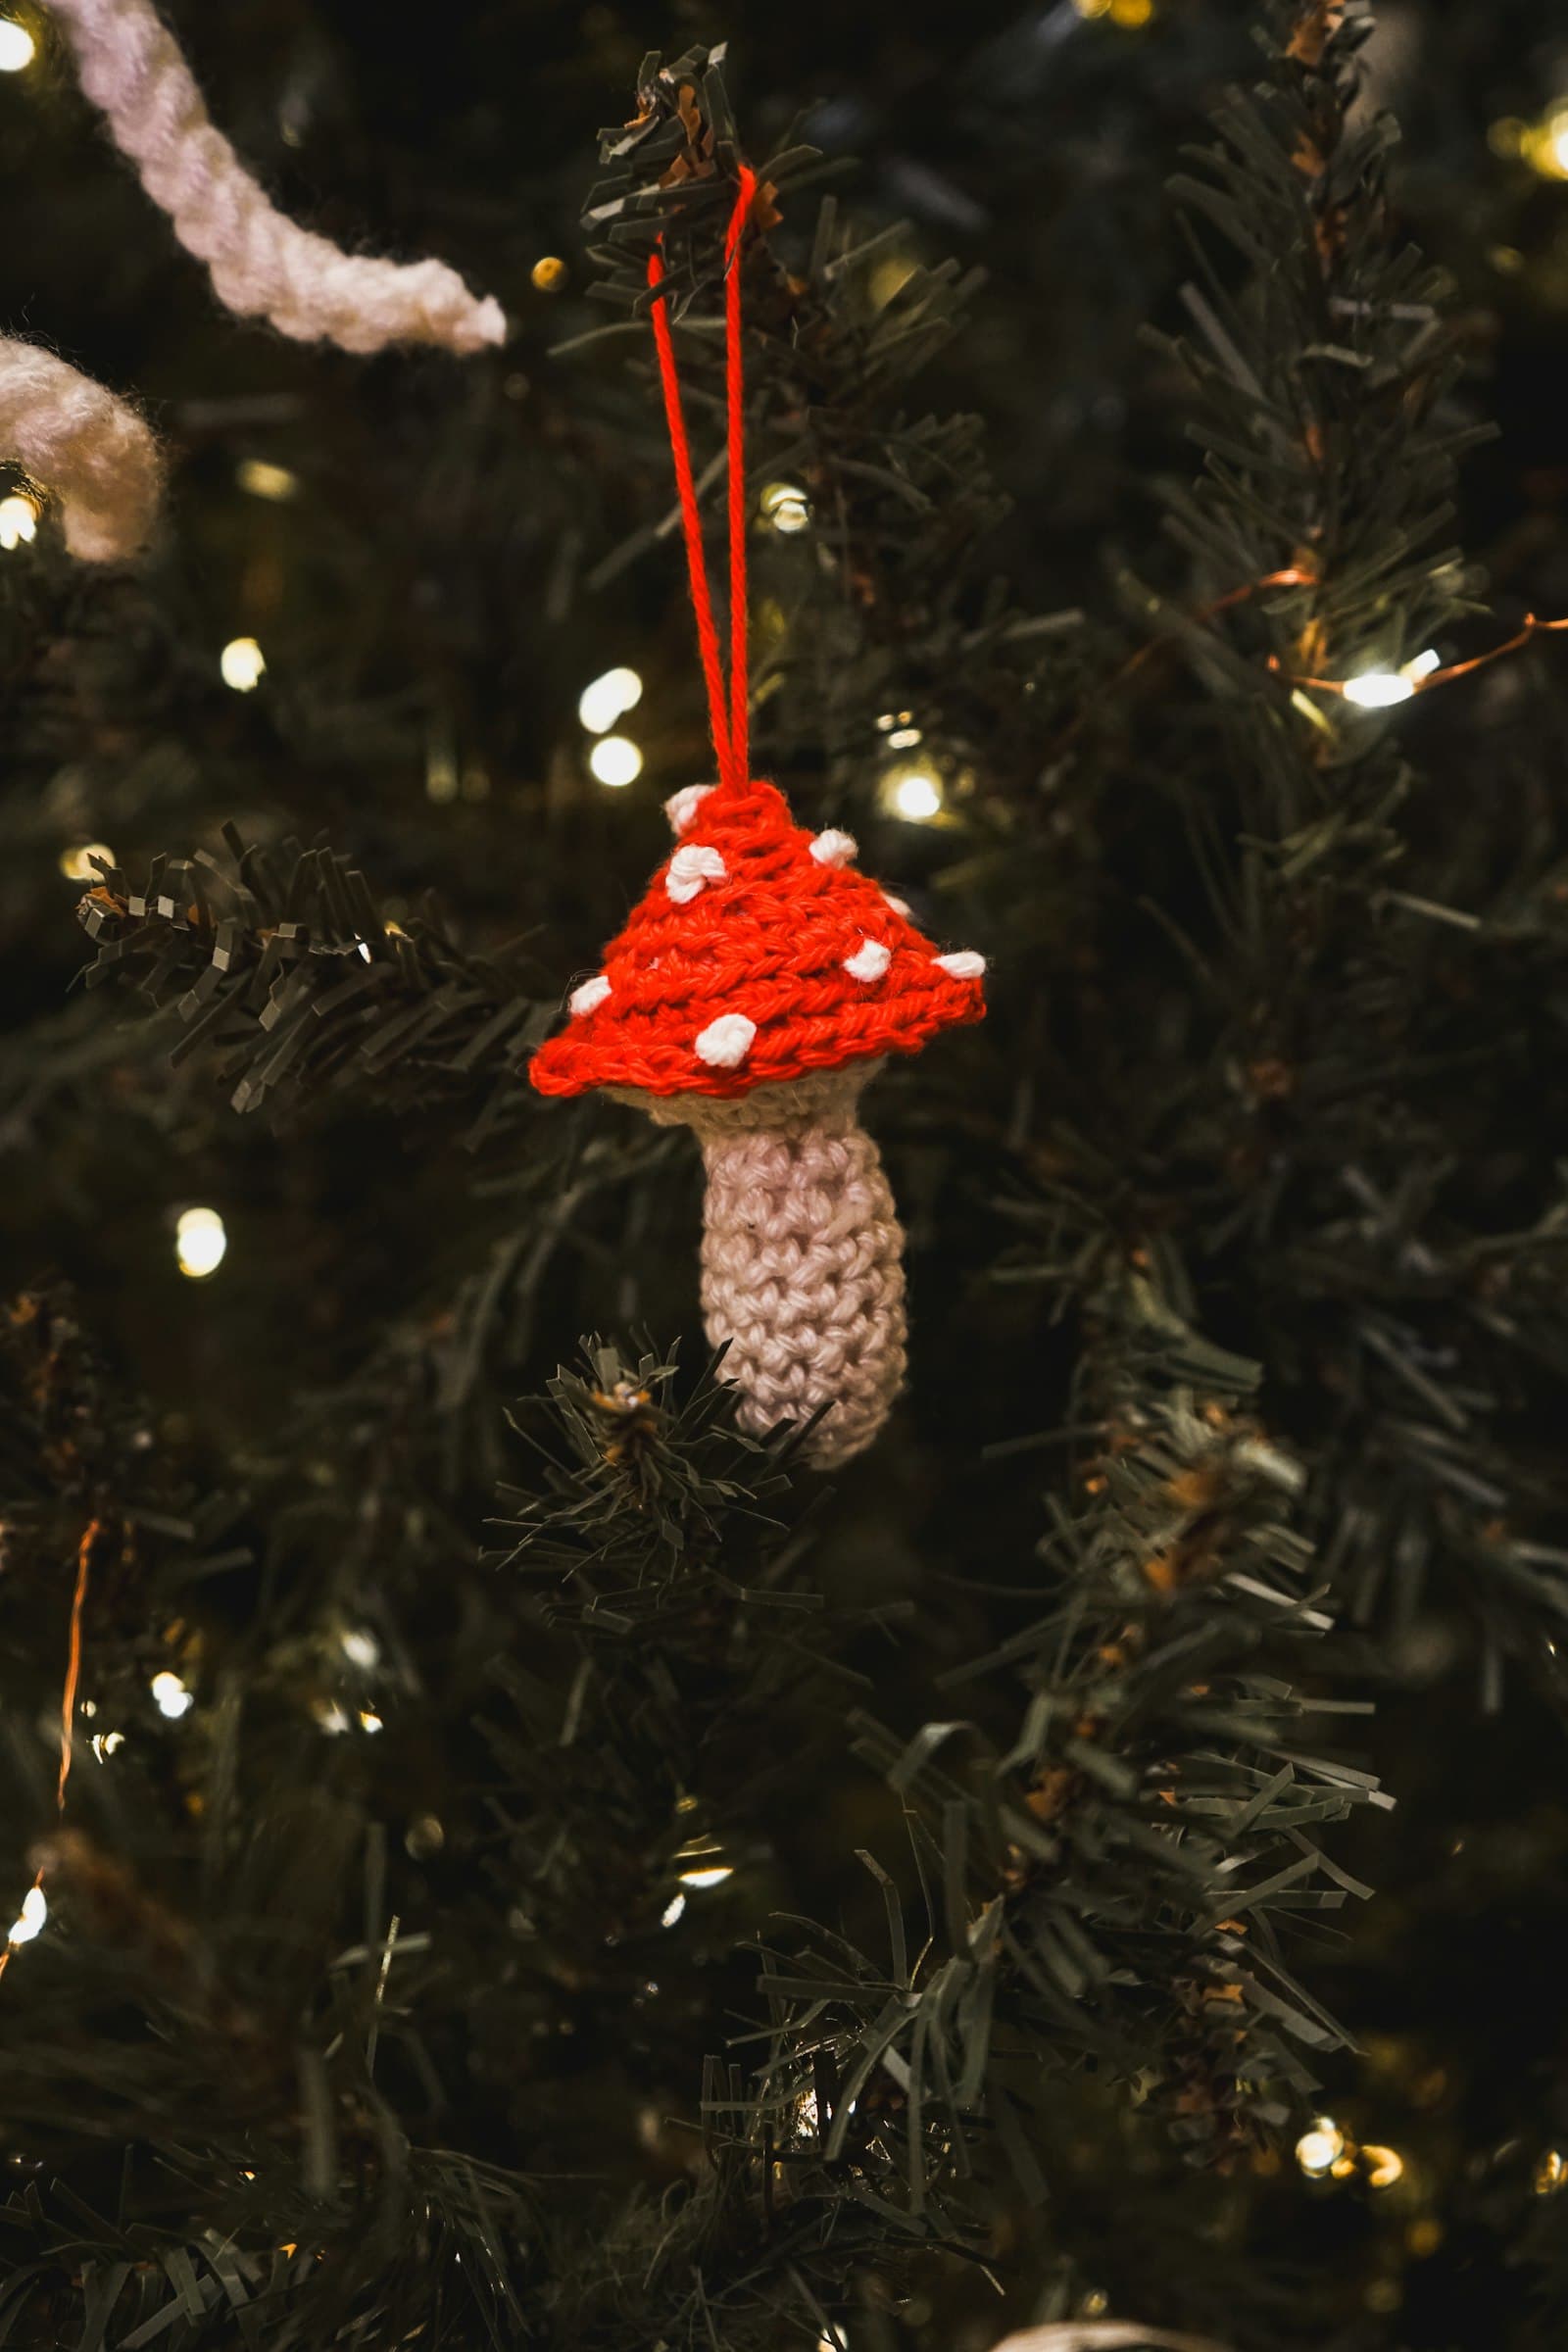
Small ornaments are the best use for the odd half-skeins left over from bigger projects — each of these three uses less than 20 grams of yarn and works up in under an hour, which makes a batch of six or eight a realistic weekend project rather than a whole-season commitment.
Materials (all three patterns)
- Worsted weight yarn scraps in red, white, and any bright color for the star
- 3.5–4.0mm crochet hook
- Small amount of polyester fiberfill (toadstool only)
- Yarn needle
- Narrow ribbon or yarn, for hanging loops
Abbreviations
- sc — single crochet
- inc — increase (2 sc in same stitch)
- dec — invisible decrease
- st(s) — stitch(es)
- FLO — front loop only
Pattern 1: Toadstool ornament
Cap (red, make 1)
- Magic ring, 6 sc into ring, then pull the tail to close the ring snugly. (6 sts)
- Inc in every stitch around: work 2 sc into each of the 6 stitches. (12 sts)
- sc 1, inc in next st around, repeating that two-stitch sequence 6 times total. (18 sts)
- sc around, no increases — one plain round that lets the cap start curving over before the next shaping round. (18 sts)
- sc 4, dec around, repeating that five-stitch sequence 3 times total. (15 sts) The decreases pull the edge inward and are what turn the flat circle into the dome shape of the cap.
- sc around, no increases or decreases (15 sts), fasten off leaving a long tail for sewing the cap to the stem later.
Embroider 4–5 small white French knots or satin-stitch dots onto the finished cap for the classic spots.
Stem (white, make 1)
- Magic ring, 6 sc into ring, pull tight to close. (6 sts)
- Work one plain round of sc with no increases. (6 sts) Repeat this same plain round 3 more times, for 4 rounds total — the stitch count stays at 6 throughout, which is what keeps the stem a straight tube instead of flaring or narrowing.
Stuff lightly, fasten off leaving a long tail.
Assembly: sew the open edge of the stem into the underside of the cap, stuffing the cap lightly first so it holds its dome shape. Add a ribbon loop through the top of the cap for hanging.
Pattern 2: Candy cane
Worked flat as a single long strip, then curved and tacked into shape — no shaping rounds needed.
- Chain 4.
- Row 1: sc in the 2nd chain from the hook and in each of the remaining 2 chains. (3 sts) Chain 1, turn.
- Row 2: sc in each st across. (3 sts) Chain 1, turn.
- Repeat Row 2 until the strip measures about 6 inches total, switching colors every 4–6 rows to build the red-and-white stripes. Change color on the last step of the final stitch in a row (drop the old color and pull the new one through the last two loops on the hook) so the new color is already in place to work the turning chain.
Fasten off, leaving both starting and ending tails long. Curl the top third of the strip into a hook shape and tack it in place with a few discreet stitches using the yarn needle, so it holds the candy-cane curve on its own. Attach a ribbon loop at the straight end.
Pattern 3: Simple 5-point star
Worked flat in one piece, no seaming.
- Chain 6, join with a slip stitch to form a ring.
- Round 1: ch 1, 10 sc into the ring, join with sl st to first sc. (10 sts)
- Round 2, the point loops: ch 5, skip the next st, sl st in the following st around the 10-stitch ring, repeating that sequence 5 times total. (5 chain-5 loops) Each loop is the foundation for one star point; don't turn or fasten off between loops.
- Round 3, filling the points: working into each of the 5 loops from Round 2 in turn, make 1 sc, 1 hdc, 3 dc (the 3 dc fill out the pointed tip of the star point), 1 hdc, and 1 sc into the loop. Slip stitch into the base stitch between loops to move to the next one, then repeat the same sequence for all 5 loops.
Fasten off, leaving a tail. Weave in ends, then attach a ribbon loop to one point for hanging.
Notes on all three
None of these need to be stuffed firmly like a toy — a light fill or none at all keeps them lightweight enough to hang without stretching the hanging loop. If you're working through a scrap-yarn stash, these three shapes tolerate weight-mismatched yarn far better than a garment would: a slightly thicker or thinner strand just changes the finished size a little, not the shape.
For a project that puts leftover granny-square skills to use instead, the granny square blanket pattern scales the same motif up to full size; for a small stuffed project closer to these ornaments in scale, the amigurumi doll pattern is a similar hour-or-two commitment.
Frequently Asked Questions
Can these ornaments be made ahead and stored for next year? Yes — store them flat or loosely boxed with tissue paper between pieces to avoid crushing, in a dry spot away from direct sunlight, which can fade brighter colors like the toadstool's red over several years.
Are these ornaments safe around pets or small children? The small parts (fiberfill, tight stitches) are more secure than a typical store-bought ornament, but as with any small decoration, keep them out of reach of anyone who might chew on or swallow small pieces.
Can I turn these into gift toppers instead of tree ornaments? Yes — the same three patterns work equally well tied onto a wrapped gift as a decorative topper; just shorten the hanging loop to a length suited for tying rather than hanging.
Keep going
- 01Halloween Monster Mug Cozy Pattern (One-Eyed and Friendly)The same ribbed tube as the everyday mug cozy, dressed up with a googly eye, two felt fangs, and a pair of horns — a seasonal novelty piece that finishes in under an hour.home-decor6 min read
- 02Crochet Keychain Pattern (Scrap Yarn, 15 Minutes)A tiny amigurumi ball, a flower, or a simple tassel — three keychain bases that each finish in under 20 minutes and turn a keyring into a genuine handmade gift.free-pattern6 min read
- 03Easy Cotton Dishcloth Pattern (A Perfect First Project)Nine inches of cotton, one stitch repeated, two evenings tops. The dishcloth is the traditional first crochet project for good reason — here's the pattern plus every trick for a square, even one.home-decor6 min read