home-decor · free-pattern · beginner · 6 min read
Crochet Market Tote Bag Pattern (Holds a Full Grocery Run)
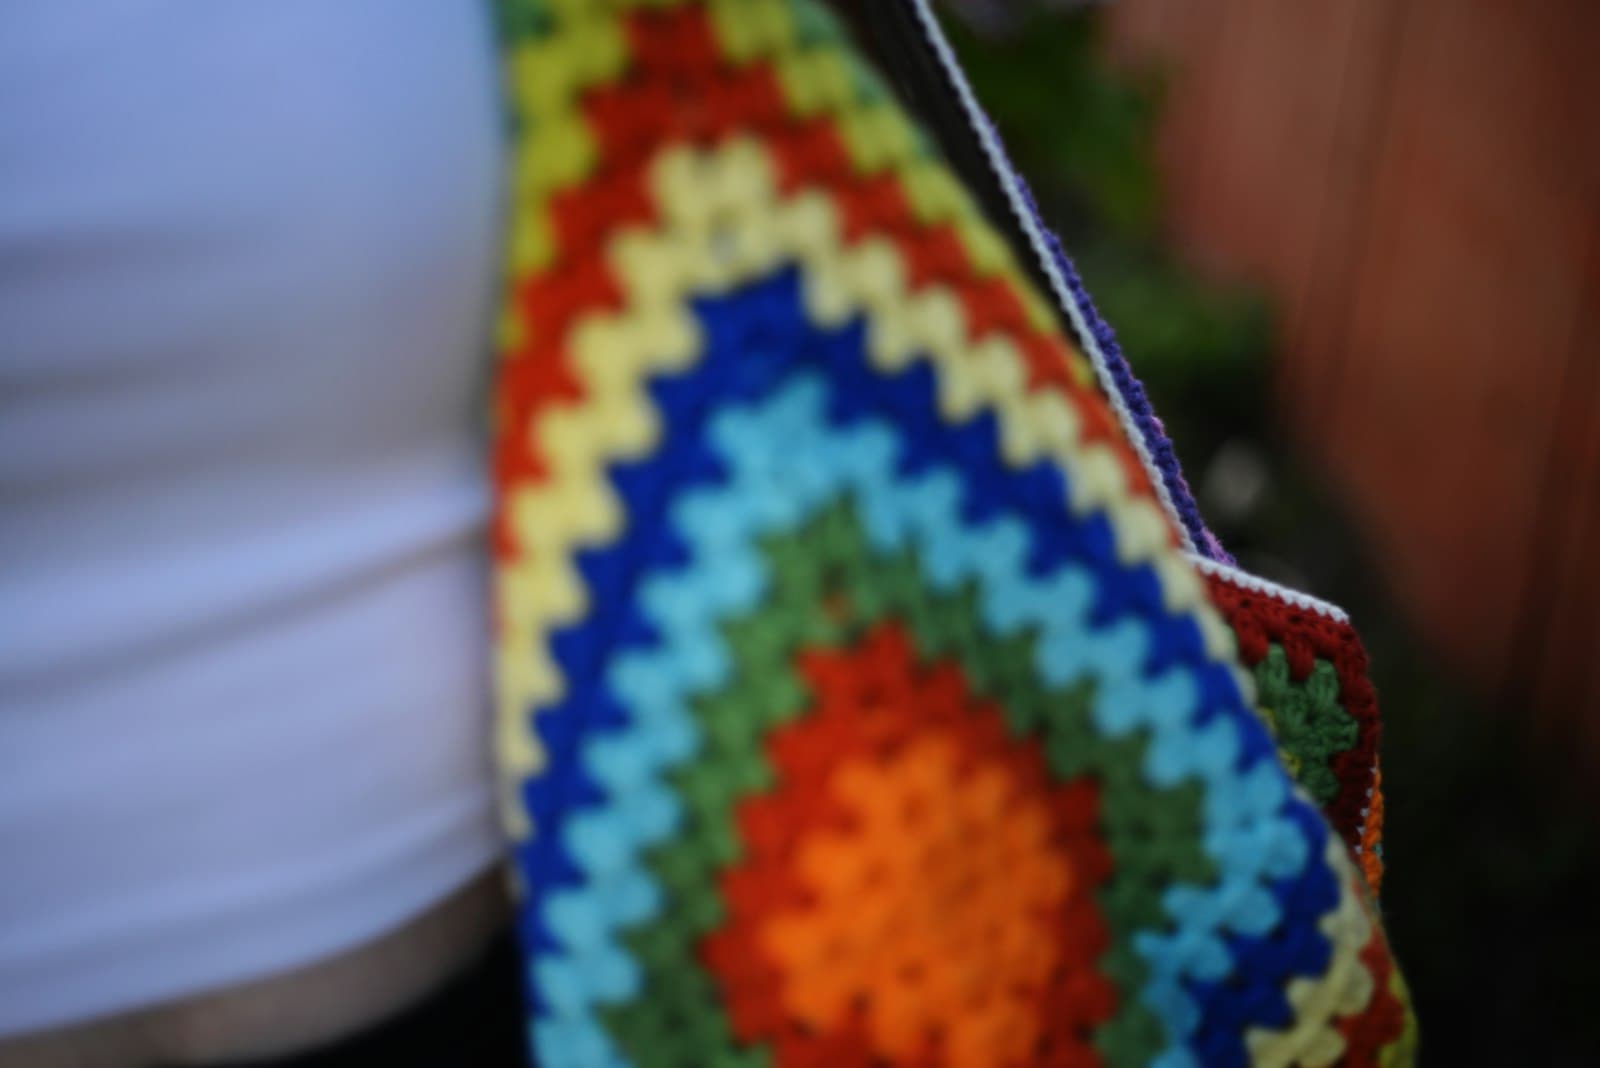
The difference between a crochet bag that lasts and one that stretches into a saggy pouch after two trips to the store is almost entirely the yarn choice, not the pattern. This tote uses sturdy cotton and a dense stitch specifically because a market bag needs to hold real weight without growing three inches taller by the time you're unpacking groceries.
Abbreviations
- ch — chain
- sc — single crochet
- hdc — half double crochet
- inc — increase (2 sc in same stitch)
- st(s) — stitch(es)
Materials
- Sturdy worsted or aran weight cotton yarn (US #4), about 300–400g — cotton is non-negotiable here; stretchy acrylic will not hold shape under grocery weight
- 5.0mm (US H-8) hook
- Yarn needle
Gauge and finished size
At roughly 13 stitches and 8 rows per 4 inches, this pattern produces a tote about 13 inches wide and 14 inches tall, with a flat oval base that keeps it standing upright when set down full.
The base (oval, flat)
- Chain 21.
- Round 1: Work 2 sc into the 2nd chain from the hook — this pair of stitches starts rounding the first curved end of the oval. Sc in each of the next 18 sts along that side of the chain. When you reach the last stitch on this side, work 3 sc into it to round the second curved end. Now rotate the piece to work back down the opposite side of the same foundation chain: sc in each of the next 18 sts, then 2 sc in the last st to close the oval shape. Join with a sl st to the first stitch of the round. (42 sts — the two short ends should already look noticeably more rounded than the long straight sides.)
- Round 2: This round only adds width at the two curved ends, which is why the increases are grouped there instead of spread evenly. Work the bracketed sequence twice around: 2 sc in each of the next 3 sts (this is the shaping section), then sc plain in the next 18 sts along the straight side. Join with a sl st to close the round. (48 sts — the curved ends should be rounding out more while the straight sides stay flat and unchanged.)
- Round 3: Continue shaping only the two curved ends: work 2 sc in next st, sc in next st repeated around each curved end, then sc plain along both straight sides without any increases. Join with a sl st. (roughly 56 sts, depending on your exact stitch placement — check the base lies flat on a table rather than cupping upward or rippling at the edges before moving on, adjusting increases by a stitch or two if it isn't lying flat yet)
The sides (worked in the round, no more increases)
Rounds 4–20 (or until your desired height). Sc in each st around with no further increases, join each round with sl st. Continue until the bag body measures about 13–14 inches tall from the base.
Final body round. Work 1 round of hdc instead of sc — the taller stitch creates a slightly looser, more open top edge that makes attaching handles easier in the next step.
Handles
Step 1. Mark two starting points on the top edge, spaced roughly a third of the way around the bag from each other. That even spacing is what keeps both handles sitting level on your shoulder instead of twisting to one side once the bag is loaded.
Step 2. At the first marked point, attach your yarn and chain 40–45 stitches. That range gives a comfortable shoulder-carry drop for most adults, but check it against your own reach before fastening off, since arm length and preferred carry height vary.
Step 3. Attach the other end of that same chain to a point on the opposite side of its own starting point, not all the way across the bag's full diameter. Each handle should span only a portion of the top opening this way, so the bag can still open and close normally once both handles are attached.
Step 4. Repeat Steps 2–3 at the second marked point to make the other handle.
Step 5. Reinforce both handles by working a second pass of single crochet back along each chain. The handles carry all the weight of a full grocery run, so this reinforcement pass is what keeps them from stretching thin or snapping under load.
Finishing
Weave in every tail securely — a market bag gets more wear and washing than almost anything else on this site, so tails woven in for only an inch or two are the first thing to work loose. If the bag looks slightly floppy when empty, that's normal for crochet fabric; it firms up and holds its shape once it's carrying actual weight.
Notes on durability
Wash in cold water and lay flat to dry rather than machine-drying, which is the single biggest cause of a crochet cotton bag stretching out of shape over time. If the base ever starts to sag under heavy loads, a solid plastic canvas disc cut to size and slipped inside the base (invisible once the bag is in use) adds structural support without changing the pattern.
The same flat-oval-base construction here scales down neatly into the mug cozy or up into a much larger project — the base math is the reusable skill, not the bag's specific size.
Frequently Asked Questions
How much weight can a crochet tote bag actually hold? A tote made with sturdy cotton and dense single crochet, like this pattern, comfortably holds a normal grocery run's worth of weight (roughly 15–20 lbs) without the base sagging, provided the handles are reinforced as described.
Why does my bag look loose and floppy right after finishing it? Fresh crochet fabric always looks softer than it behaves under load — it firms up visibly once it's carrying actual weight for the first few uses, so don't judge the final structure from an empty, just-finished bag.
Can I line the bag with fabric to stop small items falling through the stitches? Yes — a simple fabric liner sewn or glued along the inside seam is a common addition for tote bags meant to carry loose small items, and it doesn't require any change to the crochet pattern itself.
Keep going
- 01Halloween Monster Mug Cozy Pattern (One-Eyed and Friendly)The same ribbed tube as the everyday mug cozy, dressed up with a googly eye, two felt fangs, and a pair of horns — a seasonal novelty piece that finishes in under an hour.home-decor6 min read
- 02Crochet Keychain Pattern (Scrap Yarn, 15 Minutes)A tiny amigurumi ball, a flower, or a simple tassel — three keychain bases that each finish in under 20 minutes and turn a keyring into a genuine handmade gift.free-pattern6 min read
- 03Easy Cotton Dishcloth Pattern (A Perfect First Project)Nine inches of cotton, one stitch repeated, two evenings tops. The dishcloth is the traditional first crochet project for good reason — here's the pattern plus every trick for a square, even one.home-decor6 min read